We expect many things to happen backstage during the website development, from design implementation to embedding the correct functionality. Usually, it’s the entire team polishing the final version of it.
But what to do to ensure that website is ready in every aspect? The article will overview a go-live checklist, a tool to control new releases, and explain how to make a good plan before publishing the website.
What is a Website Go-Live Checklist

Website go-live checklist is a document aimed at making new website release a smooth and stress-free experience. Even though it sounds like a go-live checklist is only helpful before launch, good go-lives focus on a post-launch phase, too. It slips through many areas of the website launch project, including server configuration, SEO settings, content, and performance.
Why Do You Need to Create a Go-Live Plan?

Having a go-live plan at hand before the final release will help to:
- Capture all the steps to complete before the release;
- Identify the dependencies between all the upcoming activities;
- Ensure alignment between all the stakeholders (team members, client team, and any third party involved in the website development and its launch);
- Ensure a smooth, successful go-live of a new website.
When Do You Need to Create a Go-Live Plan/Checklist?

All projects have different scopes, complexity, timeline, and other parameters. How to know when exactly you need to make a go-live check?
Usually, the team reserves time for launch preparations in the initial project plan. It belongs closer to the end of the project.
The best time to go through the checklist or prepare a new one is during the final UAT (User Acceptance Testing) phase or training. We're at Five Jars prefer doing a go-live check when the active stage of development is over.
How to Create a Go-Live Checklist

A high-performing website is a product of the effective collaboration of different teams (design, marketing, development, QA, etc.).
Some tips for go-live checklist creation include:
- Determine where to keep the checklist file (a separate sheet on Confluence or Google Drive).
- Split your checklist into pre-launch, launch, and post-release activities.
- Consider previous experiences. If this is not your first website, you may use one of the earlier plans as a template for the upcoming release. You can customize your plan based on the new project’s needs. If you don’t have any previous experience, create a new table/list.
- Make sure to include the following columns: Status, Task Description, Assignee or Owner (either name of a person in charge of the task or a company name), Due Dates by task, and Comments.
- The checklist should cover the following areas:
- Hosting configuration;
- Deployments;
- Content;
- Domains, certificates, security;
- SEO;
- Performance.
- Schedule a meeting with your Team/Tech Lead to review the checklist.
- Update items if there is anything custom required for the new website.
- Schedule a meeting with the client to review the checklist to ensure everybody is aligned on what should happen and when.
- Don’t forget to mark checklist items as complete.
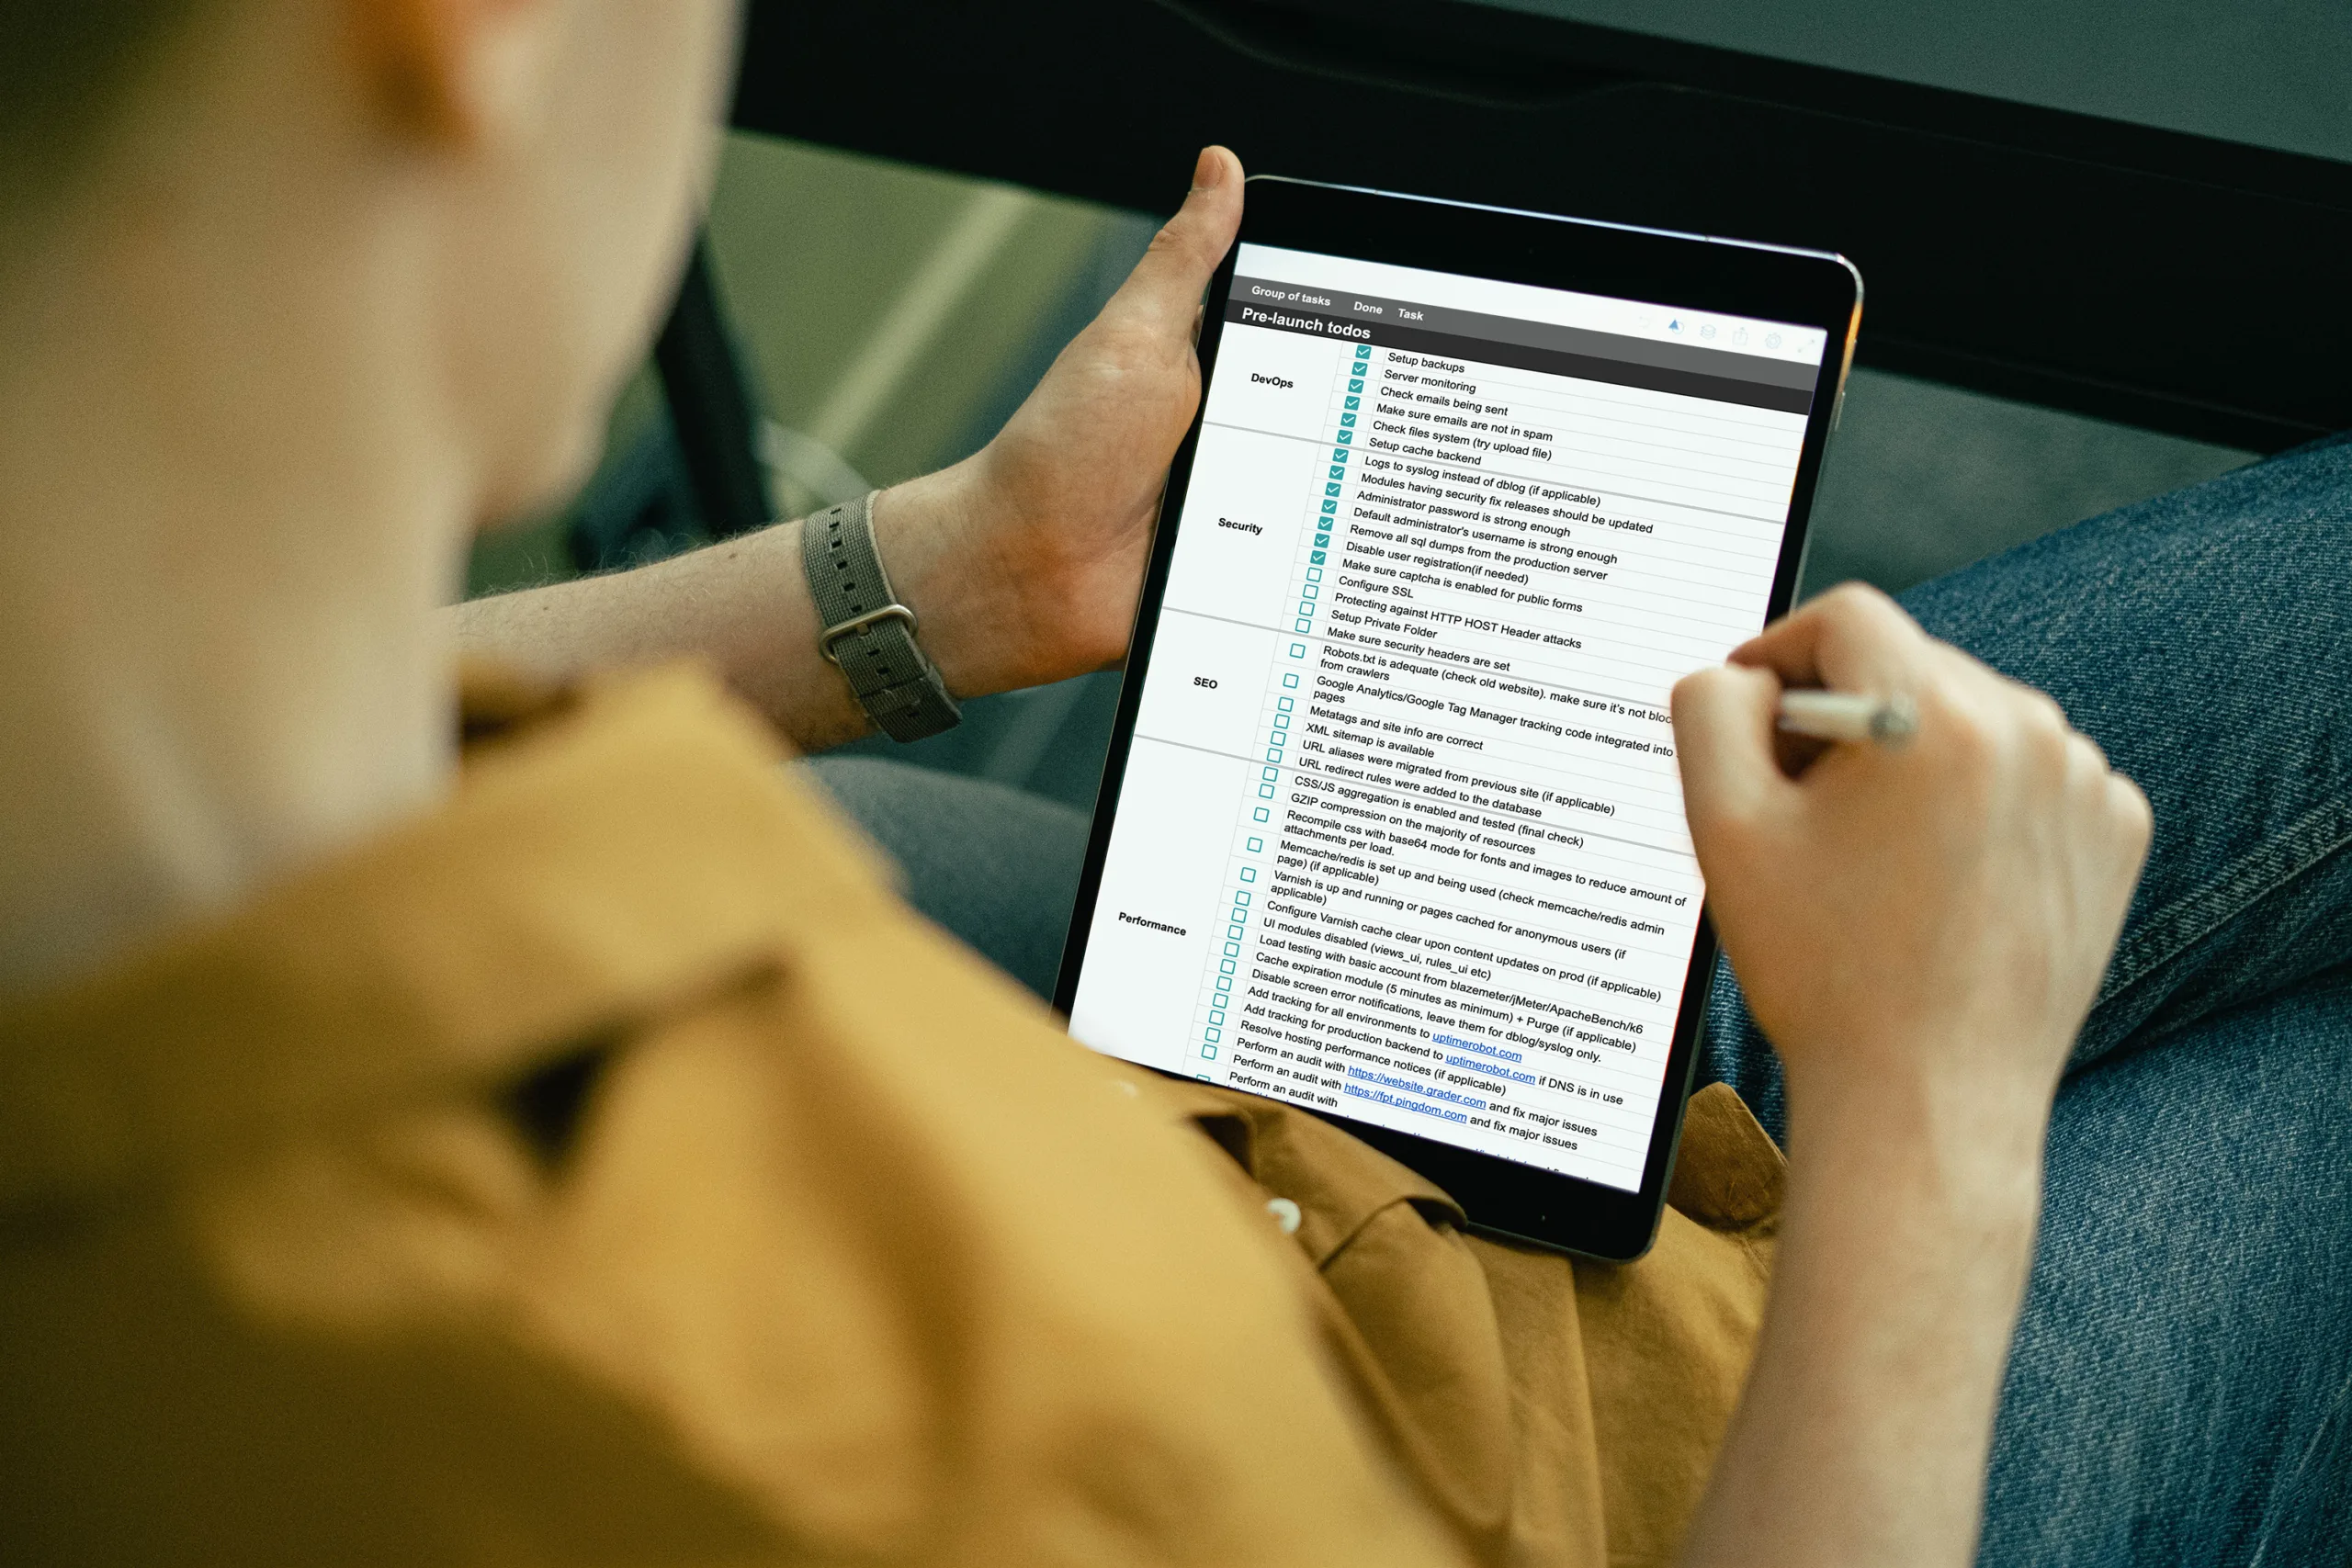
Here at Five Jars, a go-live checklist looks like this:
- Pre-launch to-dos:
- System administration. Set up crons and backups, check the file system, etc.
- Security. Ensure the admin username and password are strong enough, configure SSL, check that the CAPTCHA is enabled for public forms, etc.
- SEO. An XML sitemap is available, URL aliases were migrated from the previous site, etc.
- Performance. Load testing is performed. Analyzing with Google PageSpeed Insights and fixing what can be addressed, etc.
- Misc (other items). Updating favicon, setting up 403 and 404 pages, etc.
- Content. Verifying all the menus to ensure links are correct, running broken links checker, etc.
- Launch activities can contain at least these checks:
- Basic authentication is removed (either from .htaccess or the shield module).
- Adding domains to the hosting environment.
- Post-launch items contain steps related to post-release smoke testing, Google Analytics configuration, changing all CI deploy scripts to handle new domain names, and more.
You are all set with the go-live checklist, good luck!
Conclusion
There are many strategies to mitigate risks of failure at the launch stage, such as maintaining a scope creep prevention document, holding extensive testing on all levels, and more. A go-live checklist is yet another approach to ensure things are going well.
The release of the website is a product of the collaboration of multiple teams, each having individual success metrics and quality criteria. A good go-live checklist will consider all of them.


