Microservices are a software architecture style in which an application is broken down into small, independent services that can be developed, deployed, and managed separately. The main goal of microservices is to allow organizations to build and manage complex, scalable applications that are easier to maintain and evolve.
By dividing applications into small, manageable parts, microservices can make development and deployment faster and more flexible.
Now we’ll describe how to build microsites in Drupal based on our project for YMCA of the North.
Client requirements/our solution

Our client was looking for a solution that would allow them to separate some content sections from the main website into new microsites. These microsites needed to have their own navigations, social links, and the ability to mix content from different subsites on some listing pages. The client also wanted the ability to administer all content from the main website and microsites in one place.
Requested microsites

Our client requested three microsites: Adventure, Impact, and Wellbeing. The Adventure microsite would cover Summer Camps, Adventure Races, and Outdoor Experiences. The Impact microsite would cover Youth and Family Services, Community Transformation, and more. The Wellbeing microsite would focus on Whole-Person Health and Wellbeing.
How it can be implemented in a common way
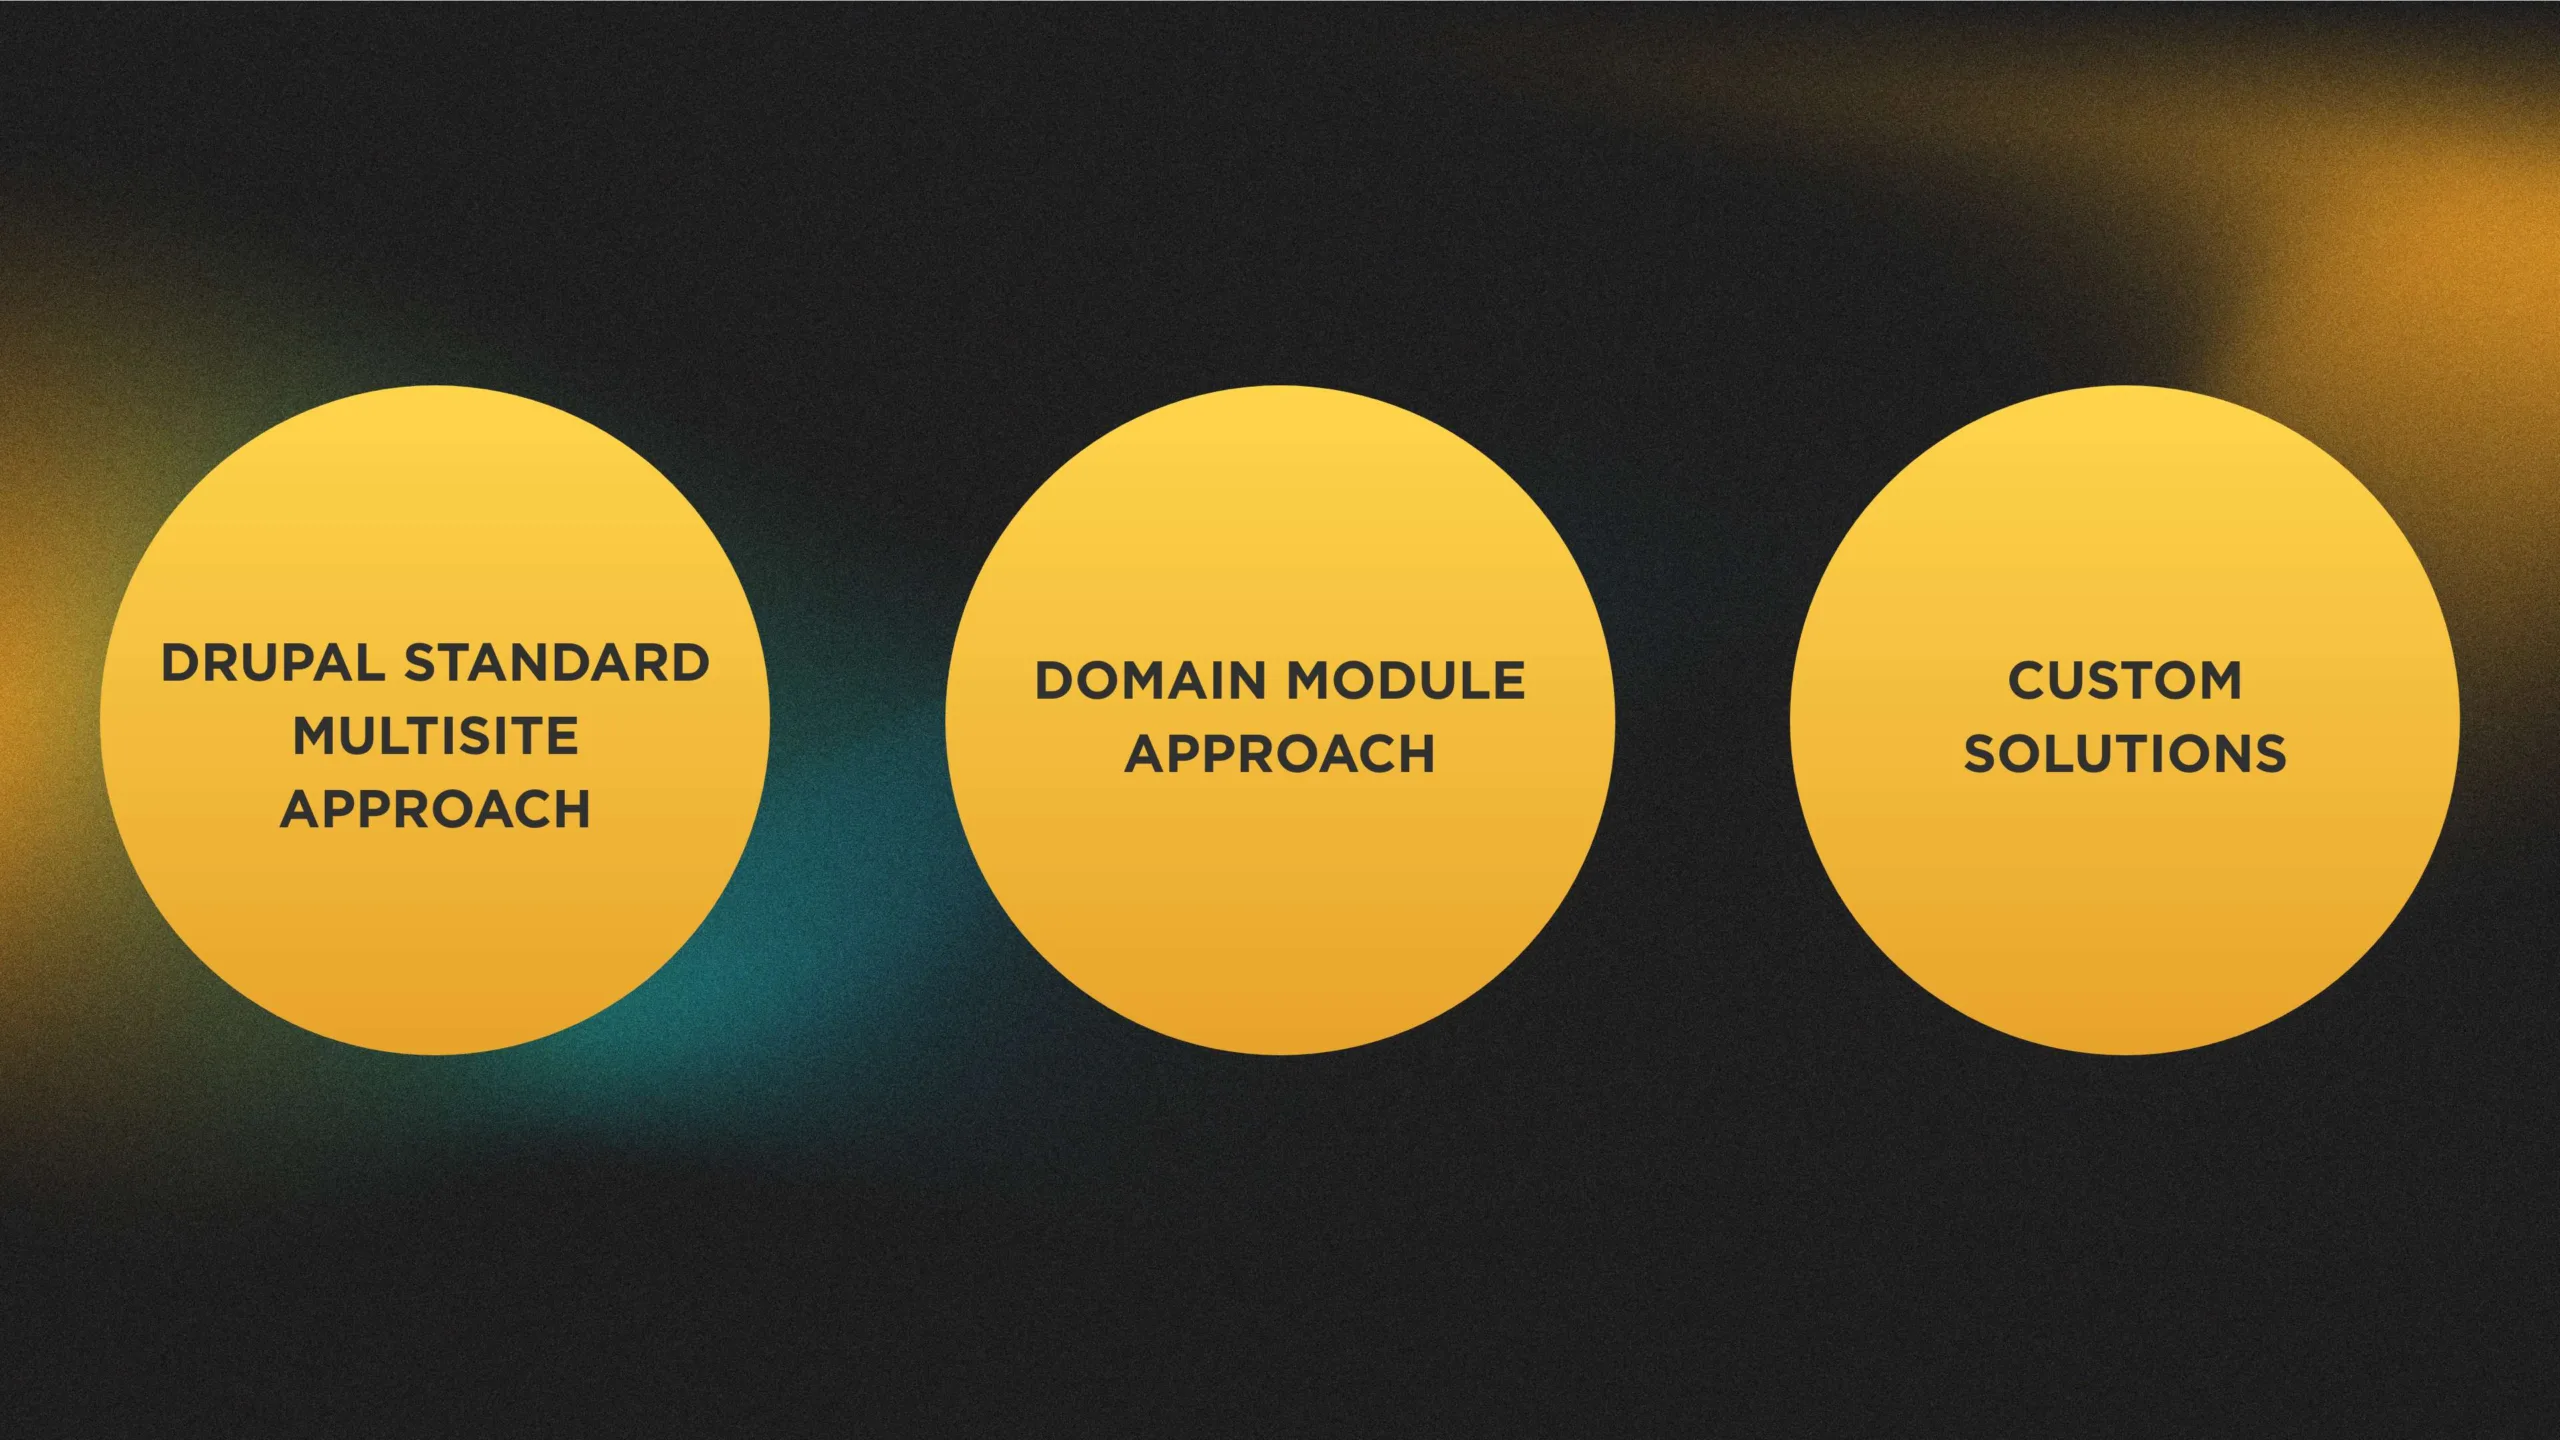
There are several common approaches to implementing microsites, including the Drupal standard multisite approach, the Domain module approach, and custom solutions. Each approach has its own benefits and challenges, but none of them fully met the client's needs and expectations.
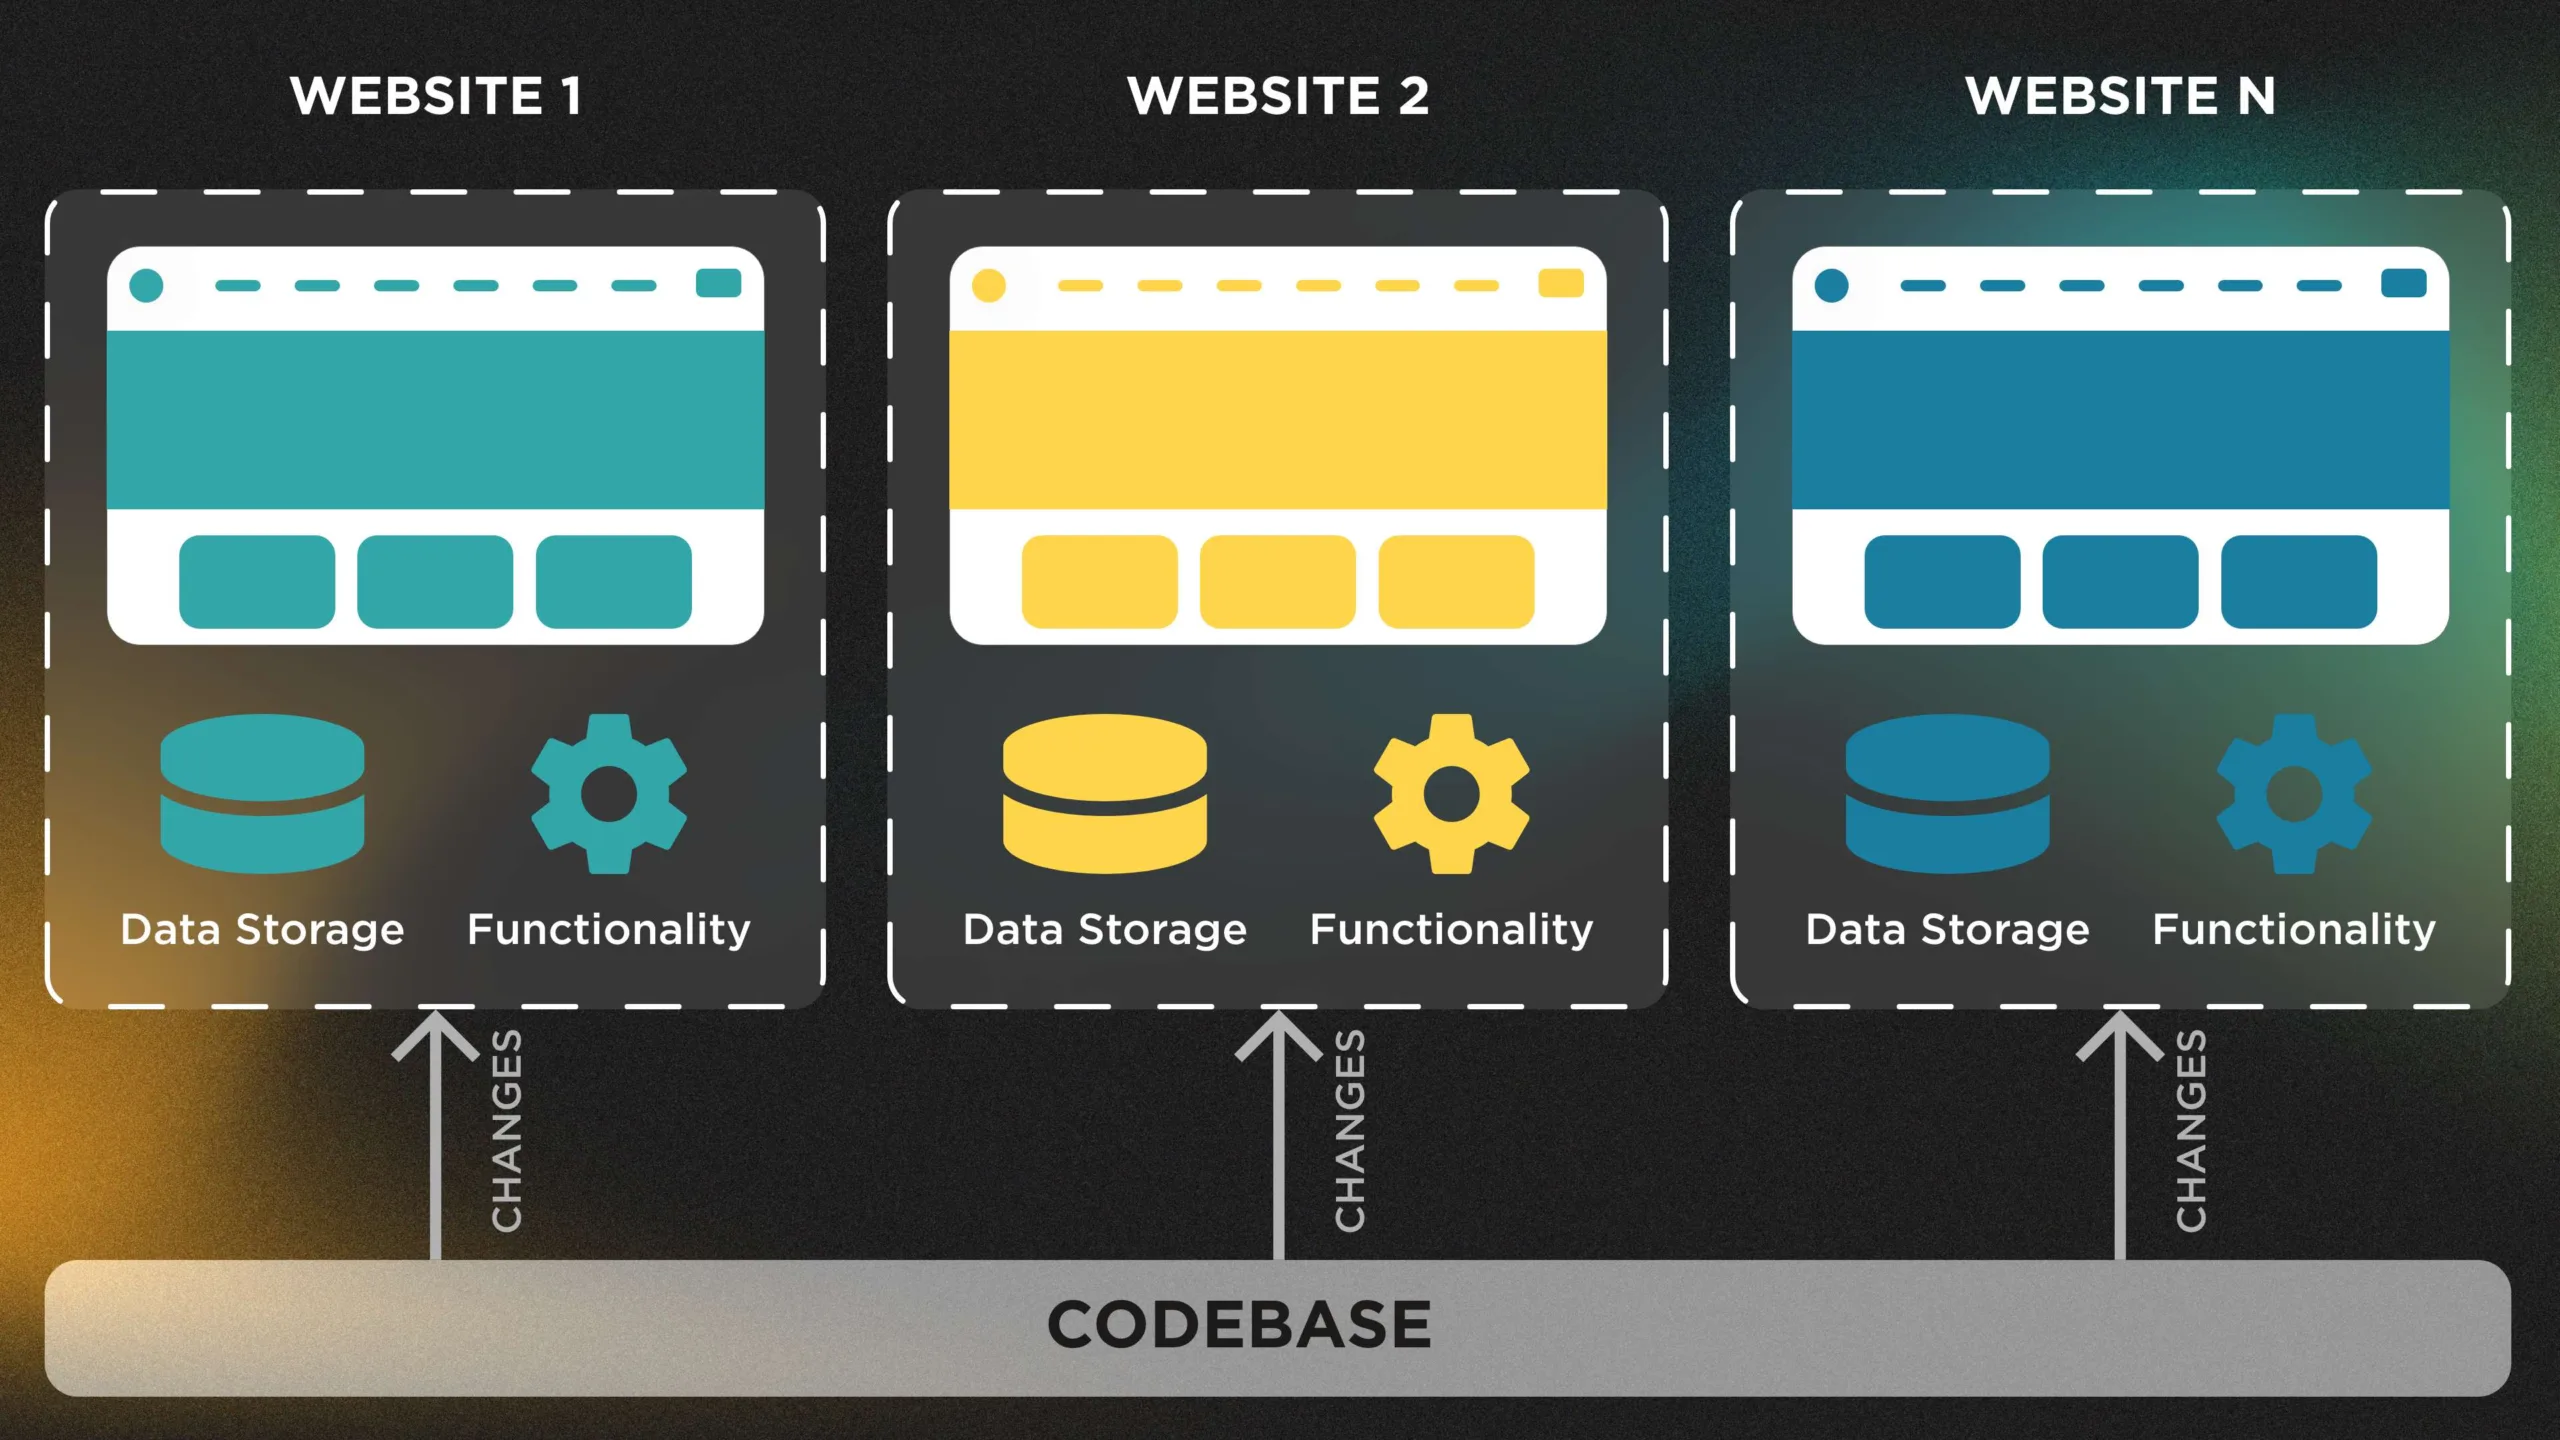
The main goal is to have separate instances of each of your websites with different data storage and some differences in functionality. This is a complicated solution that will require changes to the codebase for each subsite separately, adapting its view, managing configuration changes, etc. Additionally, on each site, contributors should have their own accounts, and authentication will be required on each subsite.
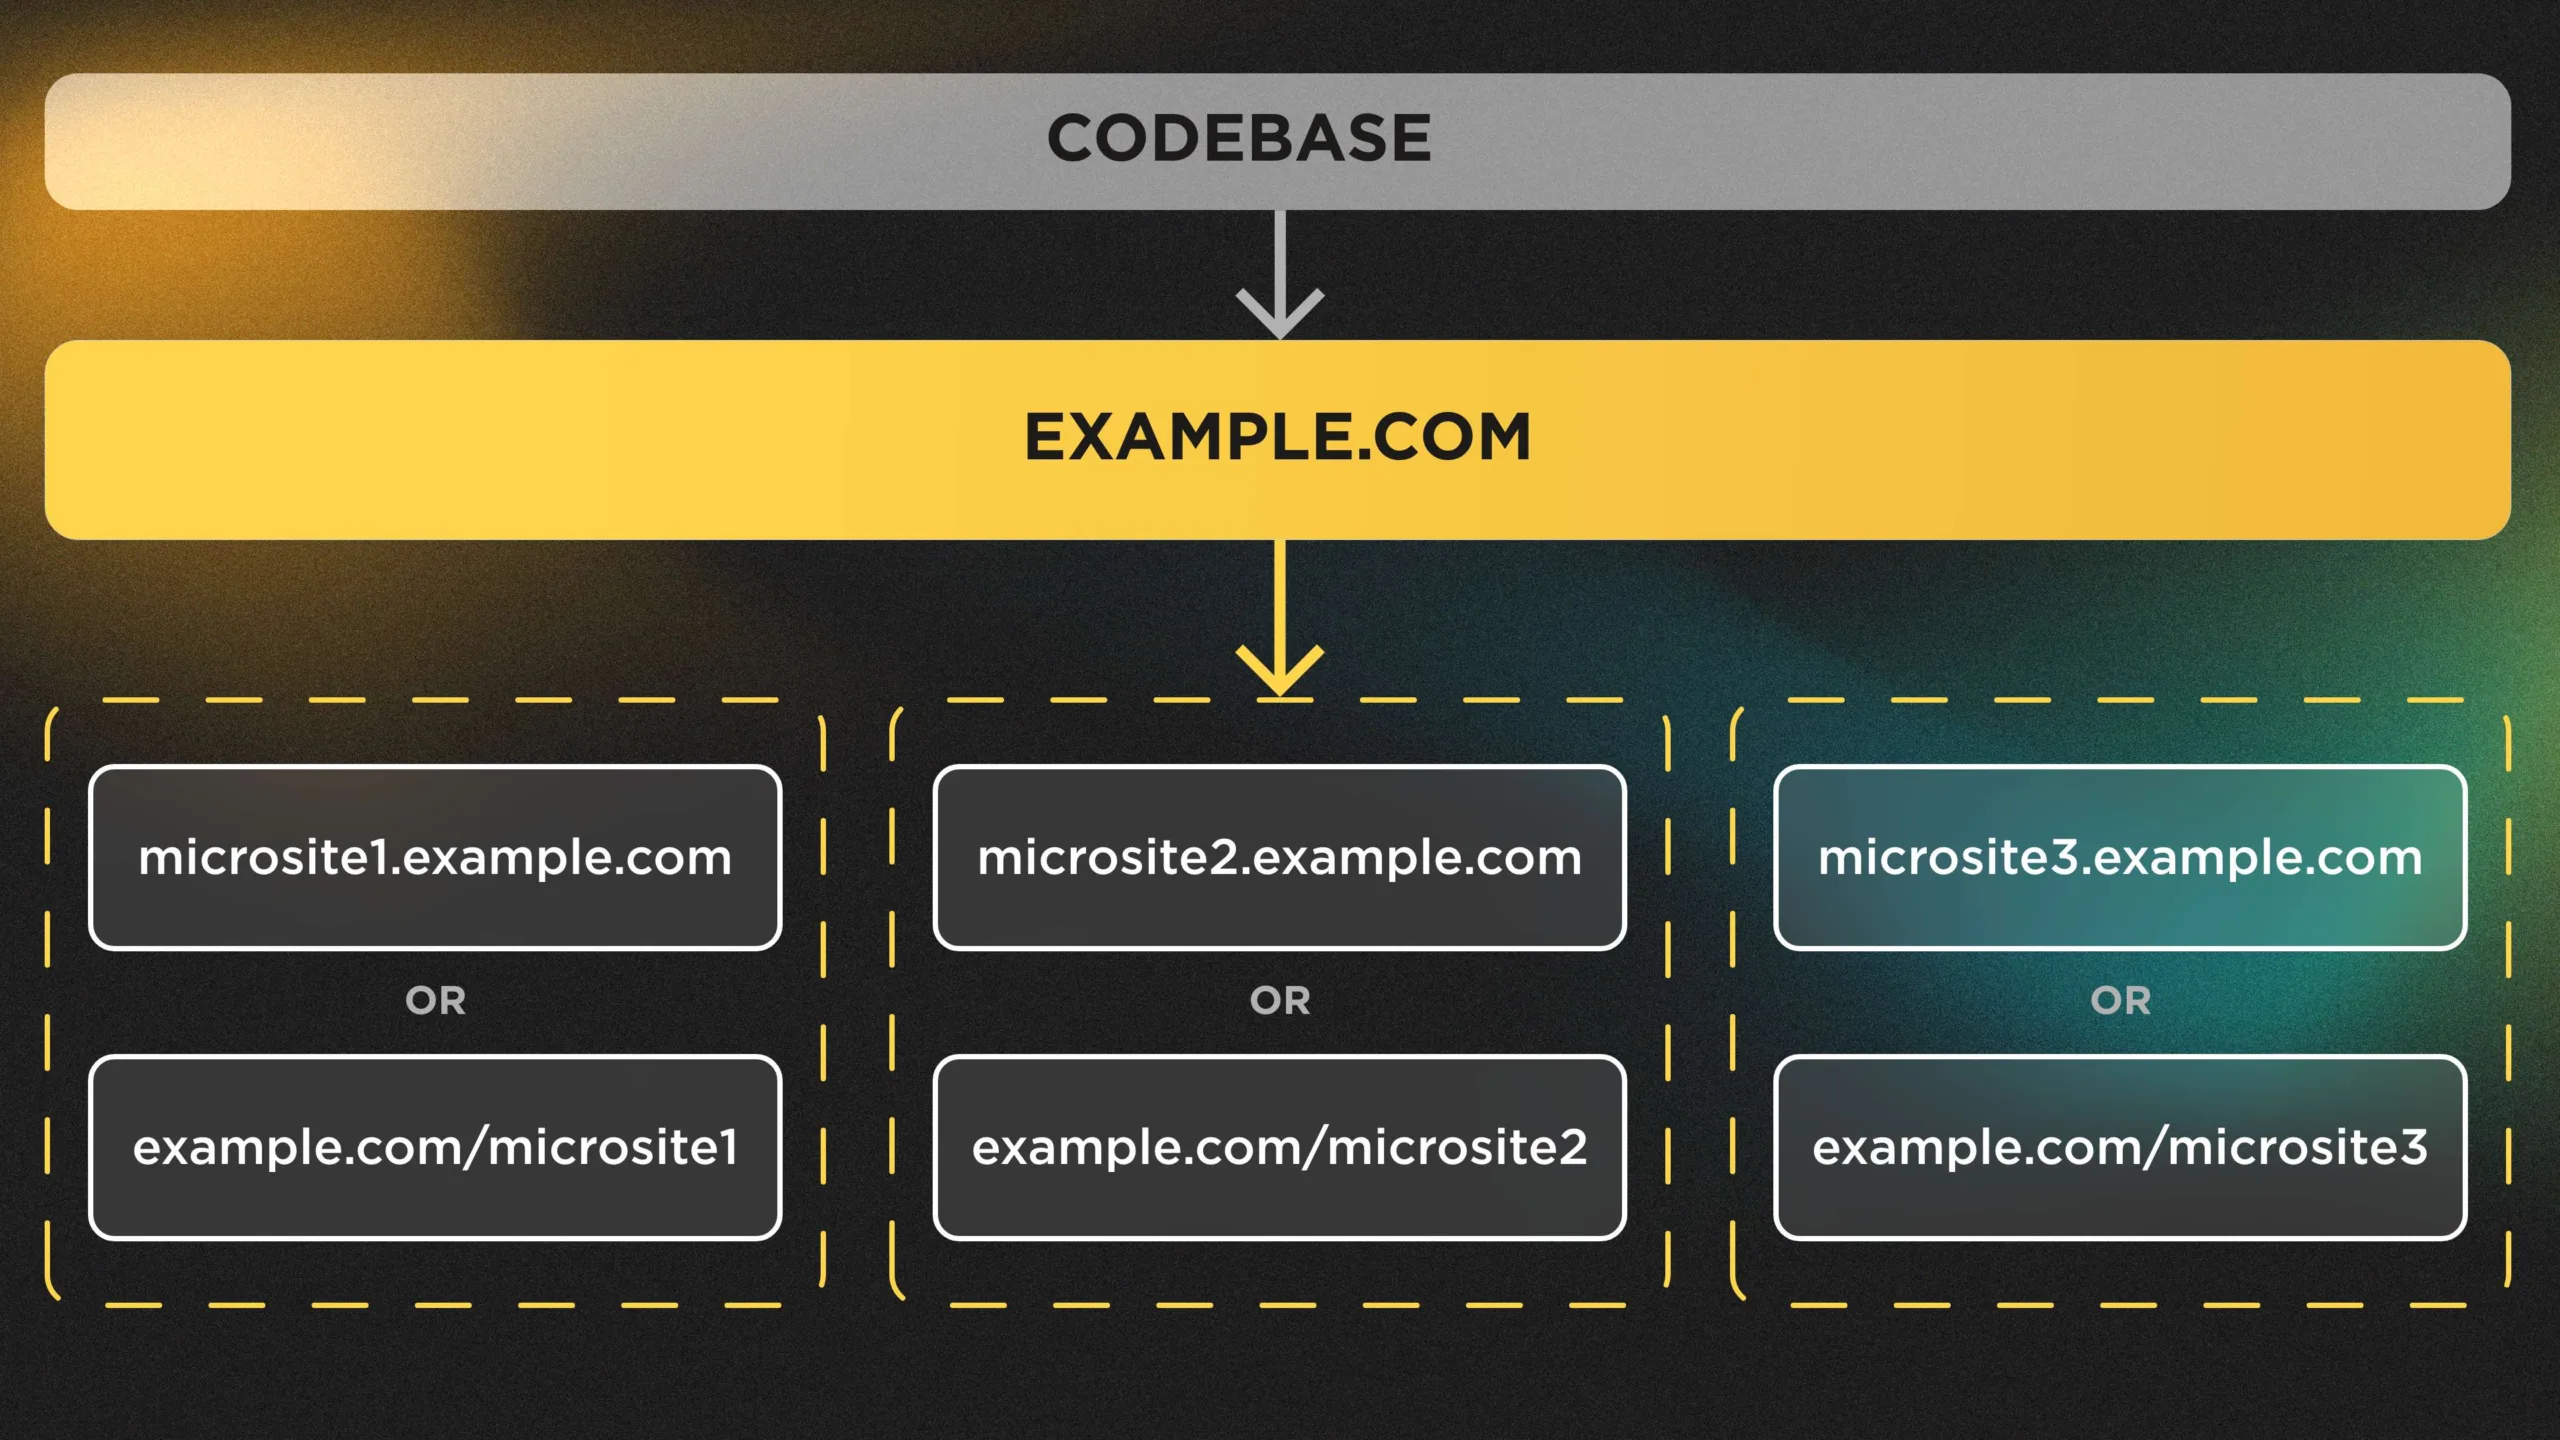
This will allow you to make some kind of subdomains/subsites using your website base URL as suffix - microsite.example.com, or use a specific suffix for your base URL as a new domain - example.com/microsite. All paths under /microsite/* will be related to this new subsite. In this case, you will have one codebase and everything will be managed on one site. However, you will face the high complexity of the administration of your subsites. Creating new ones will also require some specific knowledge and preparation from your developers' team.
Develop some custom solutions
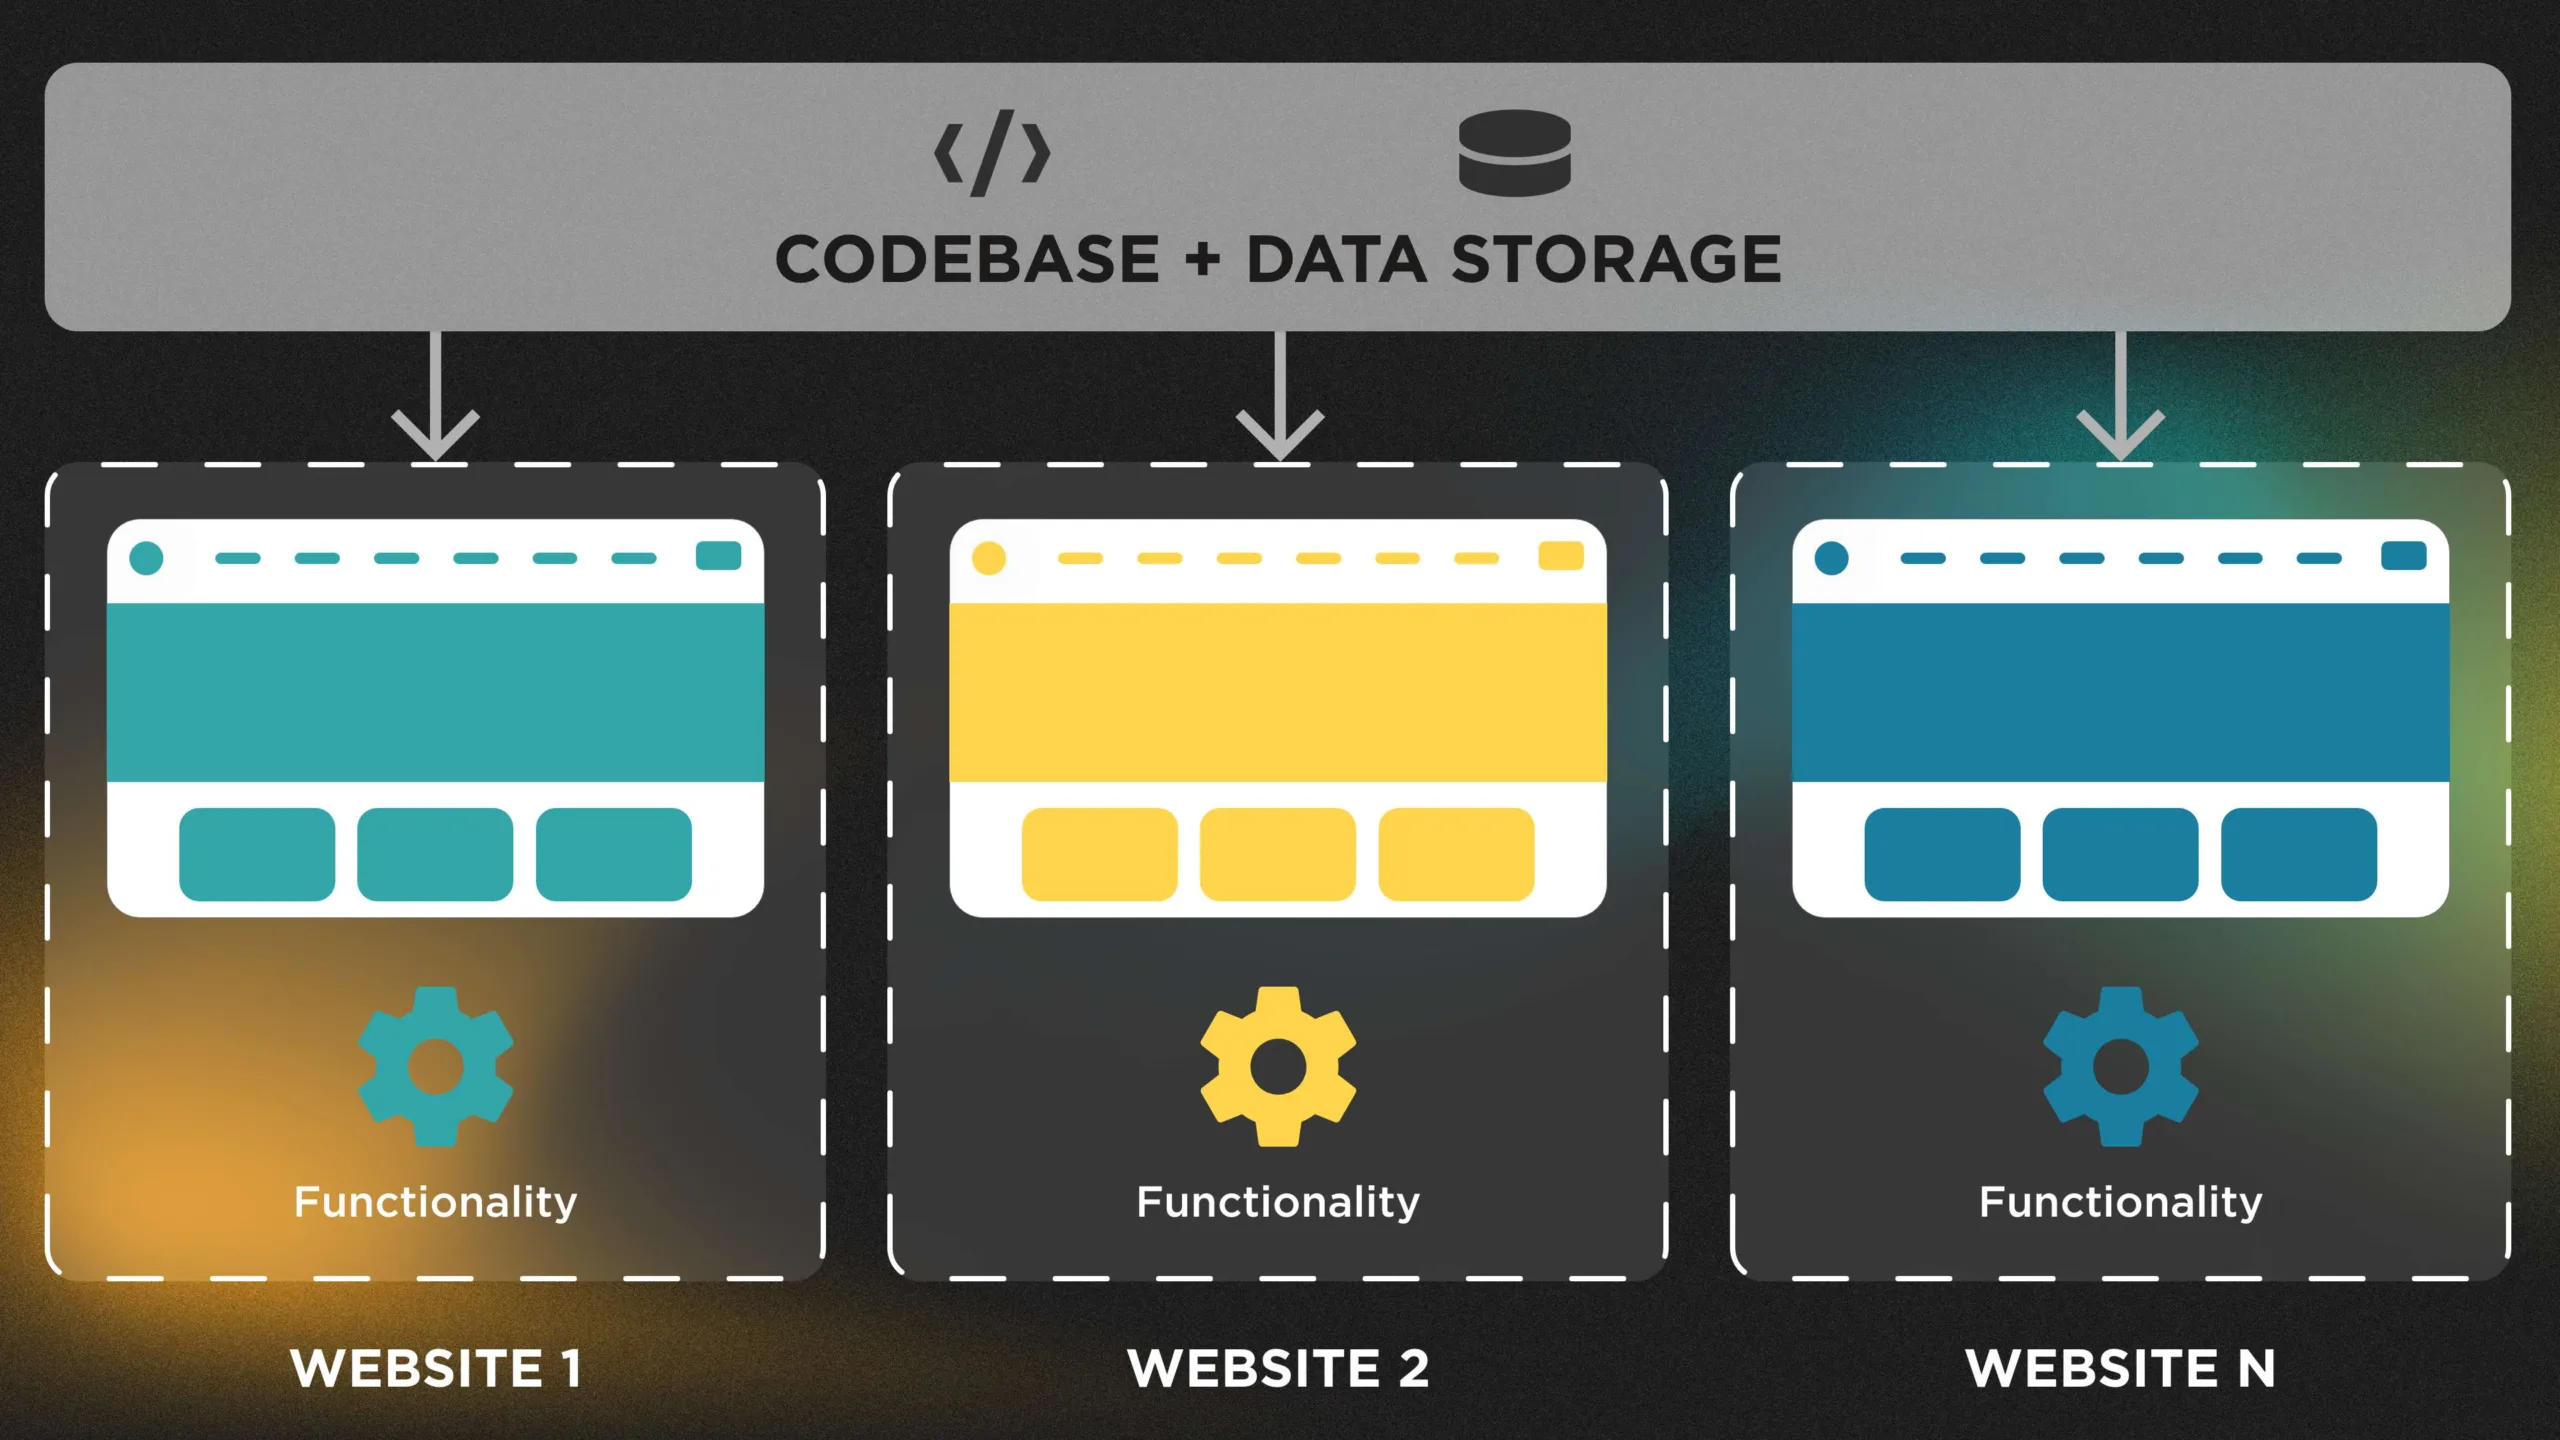
In this case, you will meet all your client’s needs, but the flexibility and scalability, support, and maintenance of such a solution probably could be a nightmare in the future for you, your client, and potentially a new agency.
How we have implemented it

We chose to use the Context module, as it allowed us to meet all of the client's needs. Context allows us to manage conditions and reactions for different parts of the site, creating separate contexts for each microsite. We added a new field, "Site section," to the nodes of the content types we wanted to include in the microsites. This field served as a reference to the existing contexts on the site, making it easier to identify which nodes should belong to which microsite.
By default, the module provides a number of useful sets of Conditions and Reactions plugins, including View inclusion or User profile pages conditions, Page title or Body classes reactions, and more. For our purposes, we utilized the Theme reactions feature to assign specific themes when the context is active. In the following sections, we'll outline our approach in detail, which has proven effective in enabling clients to create flexible site sections.
Site sections implementation plan
Sections identification
First and foremost, to simplify our approach and ensure clarity, let's start with an assumption:
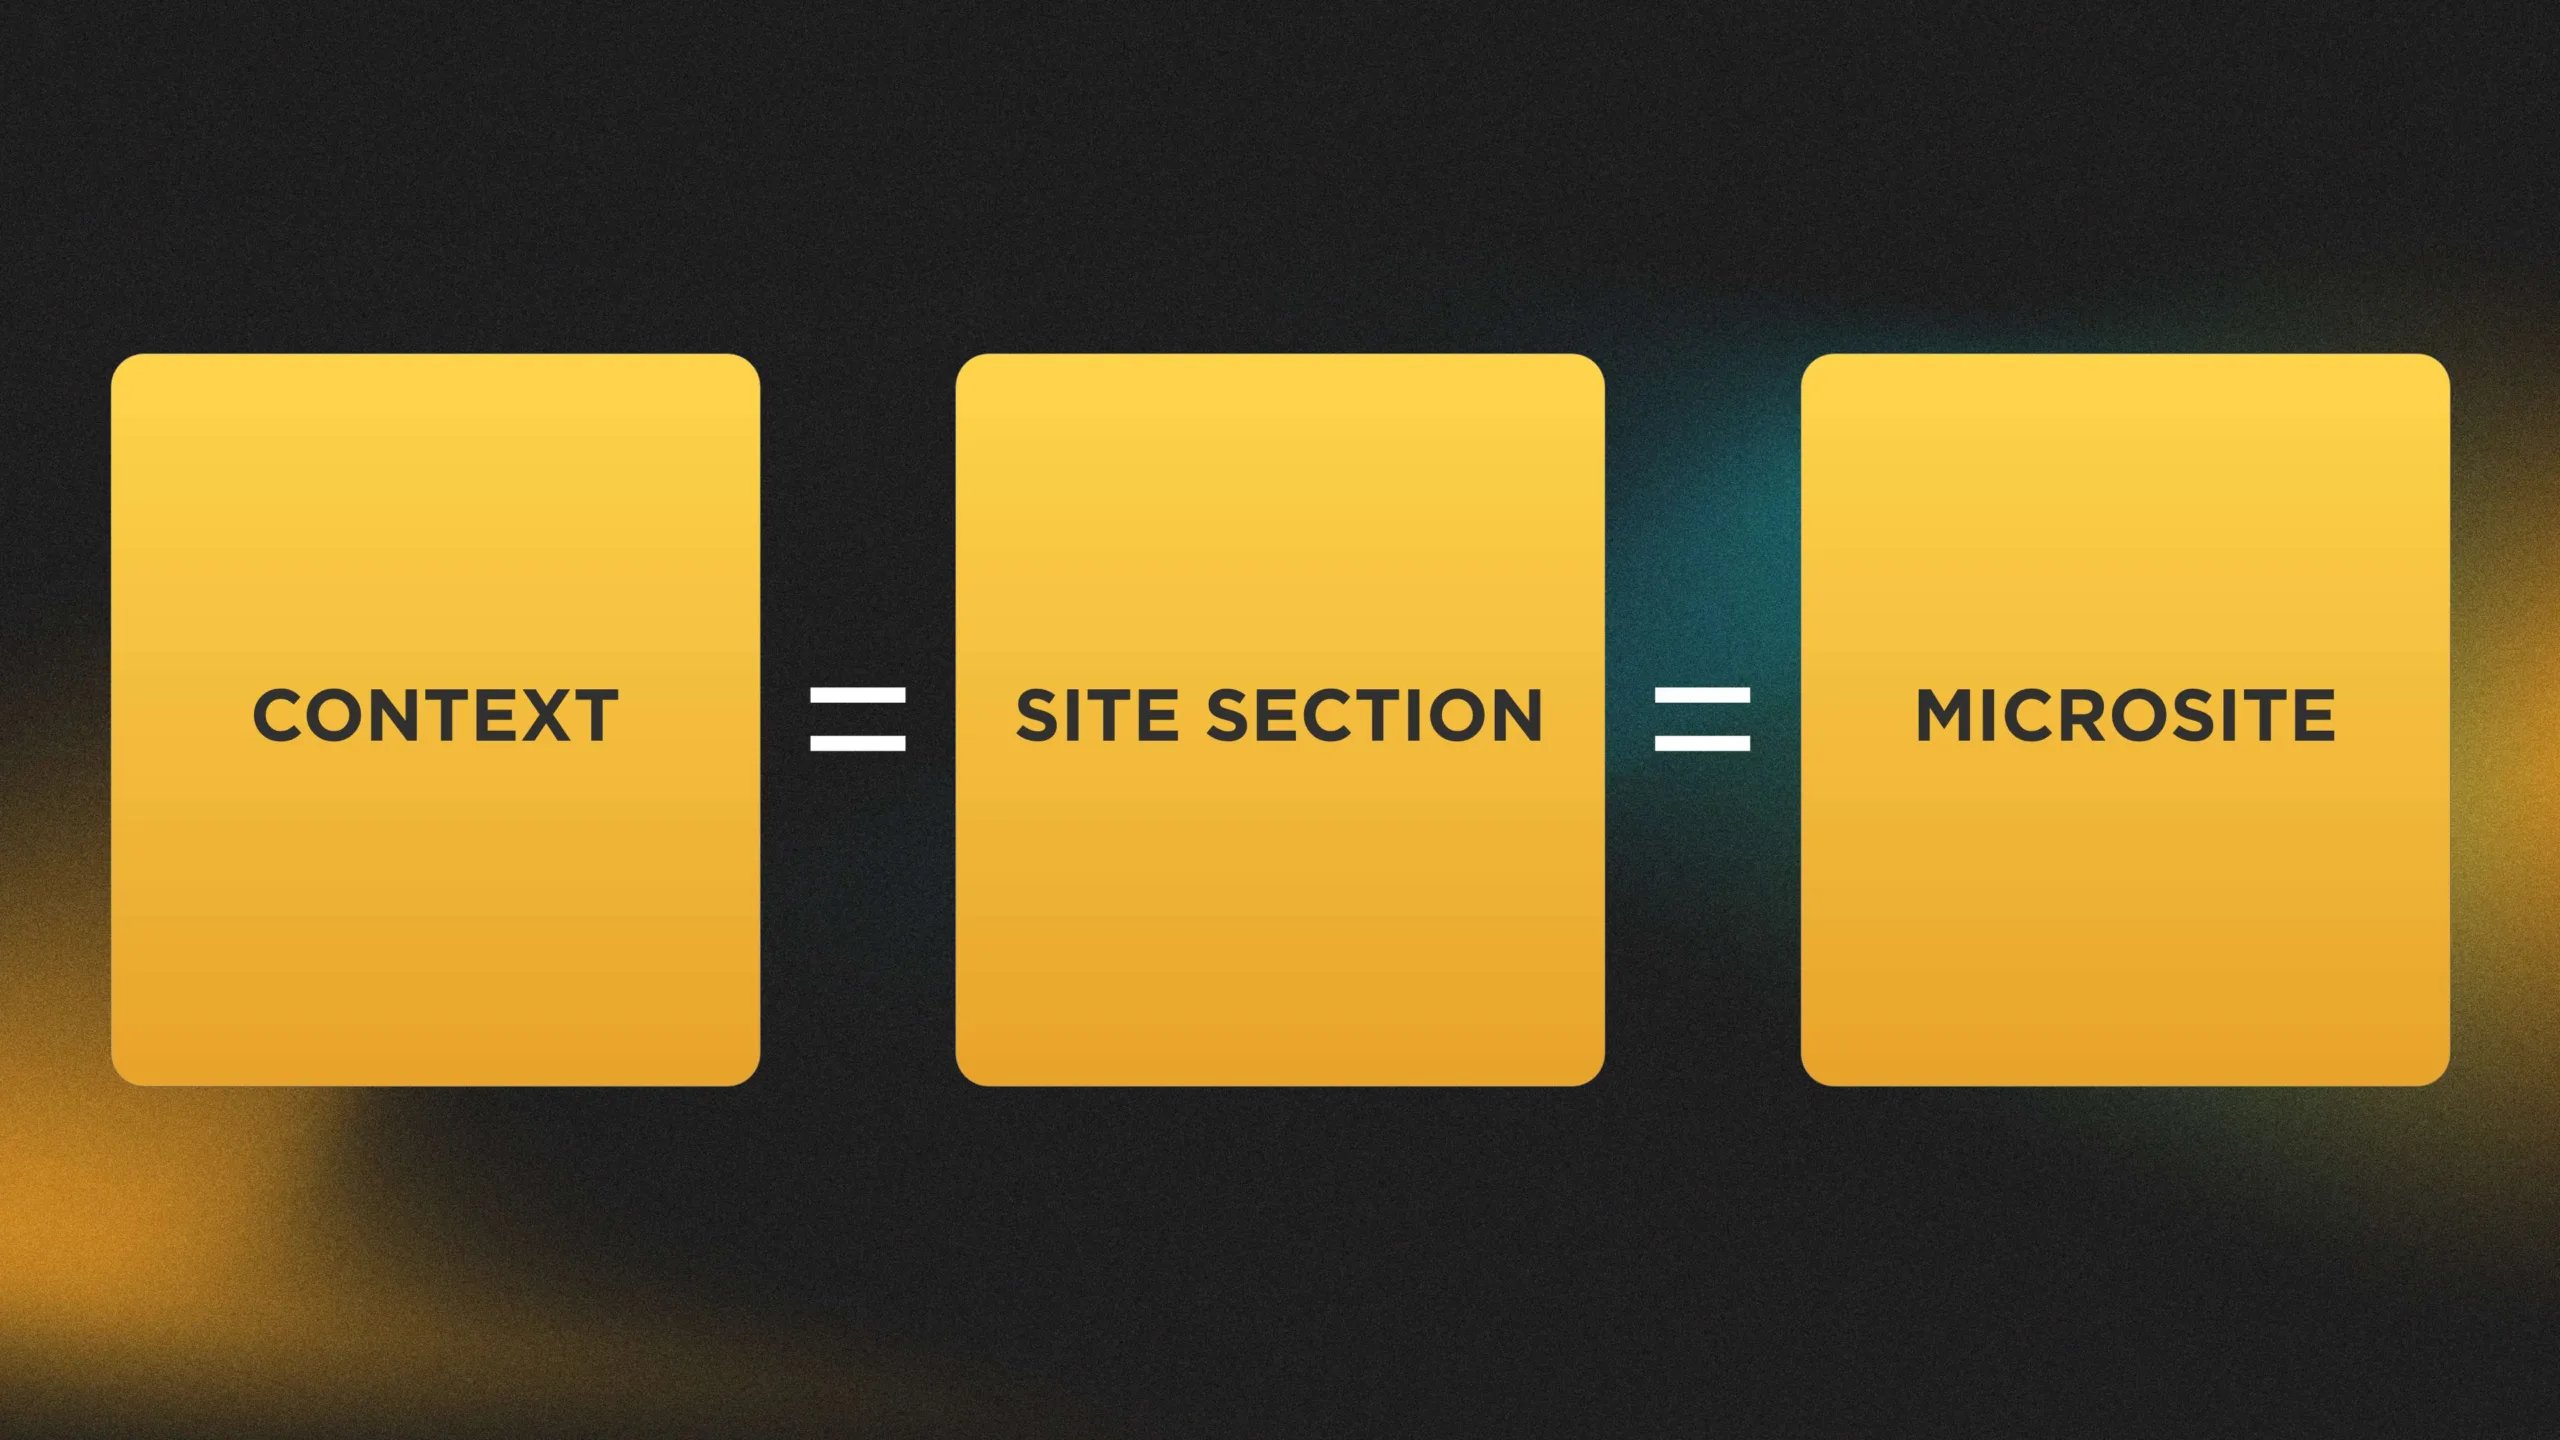
To configure our context, we need to define all the conditions and rules that we'll use. But how do we identify which pages should be grouped as related to a specific site section (active context) and have different views?
We can add a new field called "Site section" inside Nodes of the relevant content types that we want to include in the sections. This field will be a simple reference to the existing contexts on the site. This way, we can identify that the Node is related to a particular site section and will have some specific rules to display in the future.
Once we add the new field in Nodes, we can use a condition in the context. The plugin system of the context's conditions will be useful here. Since there is no out-of-the-box condition, we'll create one. The main logic will be added to the evaluate() method of the Condition plugin:
- We'll specify a list of the routes to check,
- retrieve the Node using the CurrentRouteMatch, and
- retrieve the value of the Site section field to activate the required context.
Sections difference
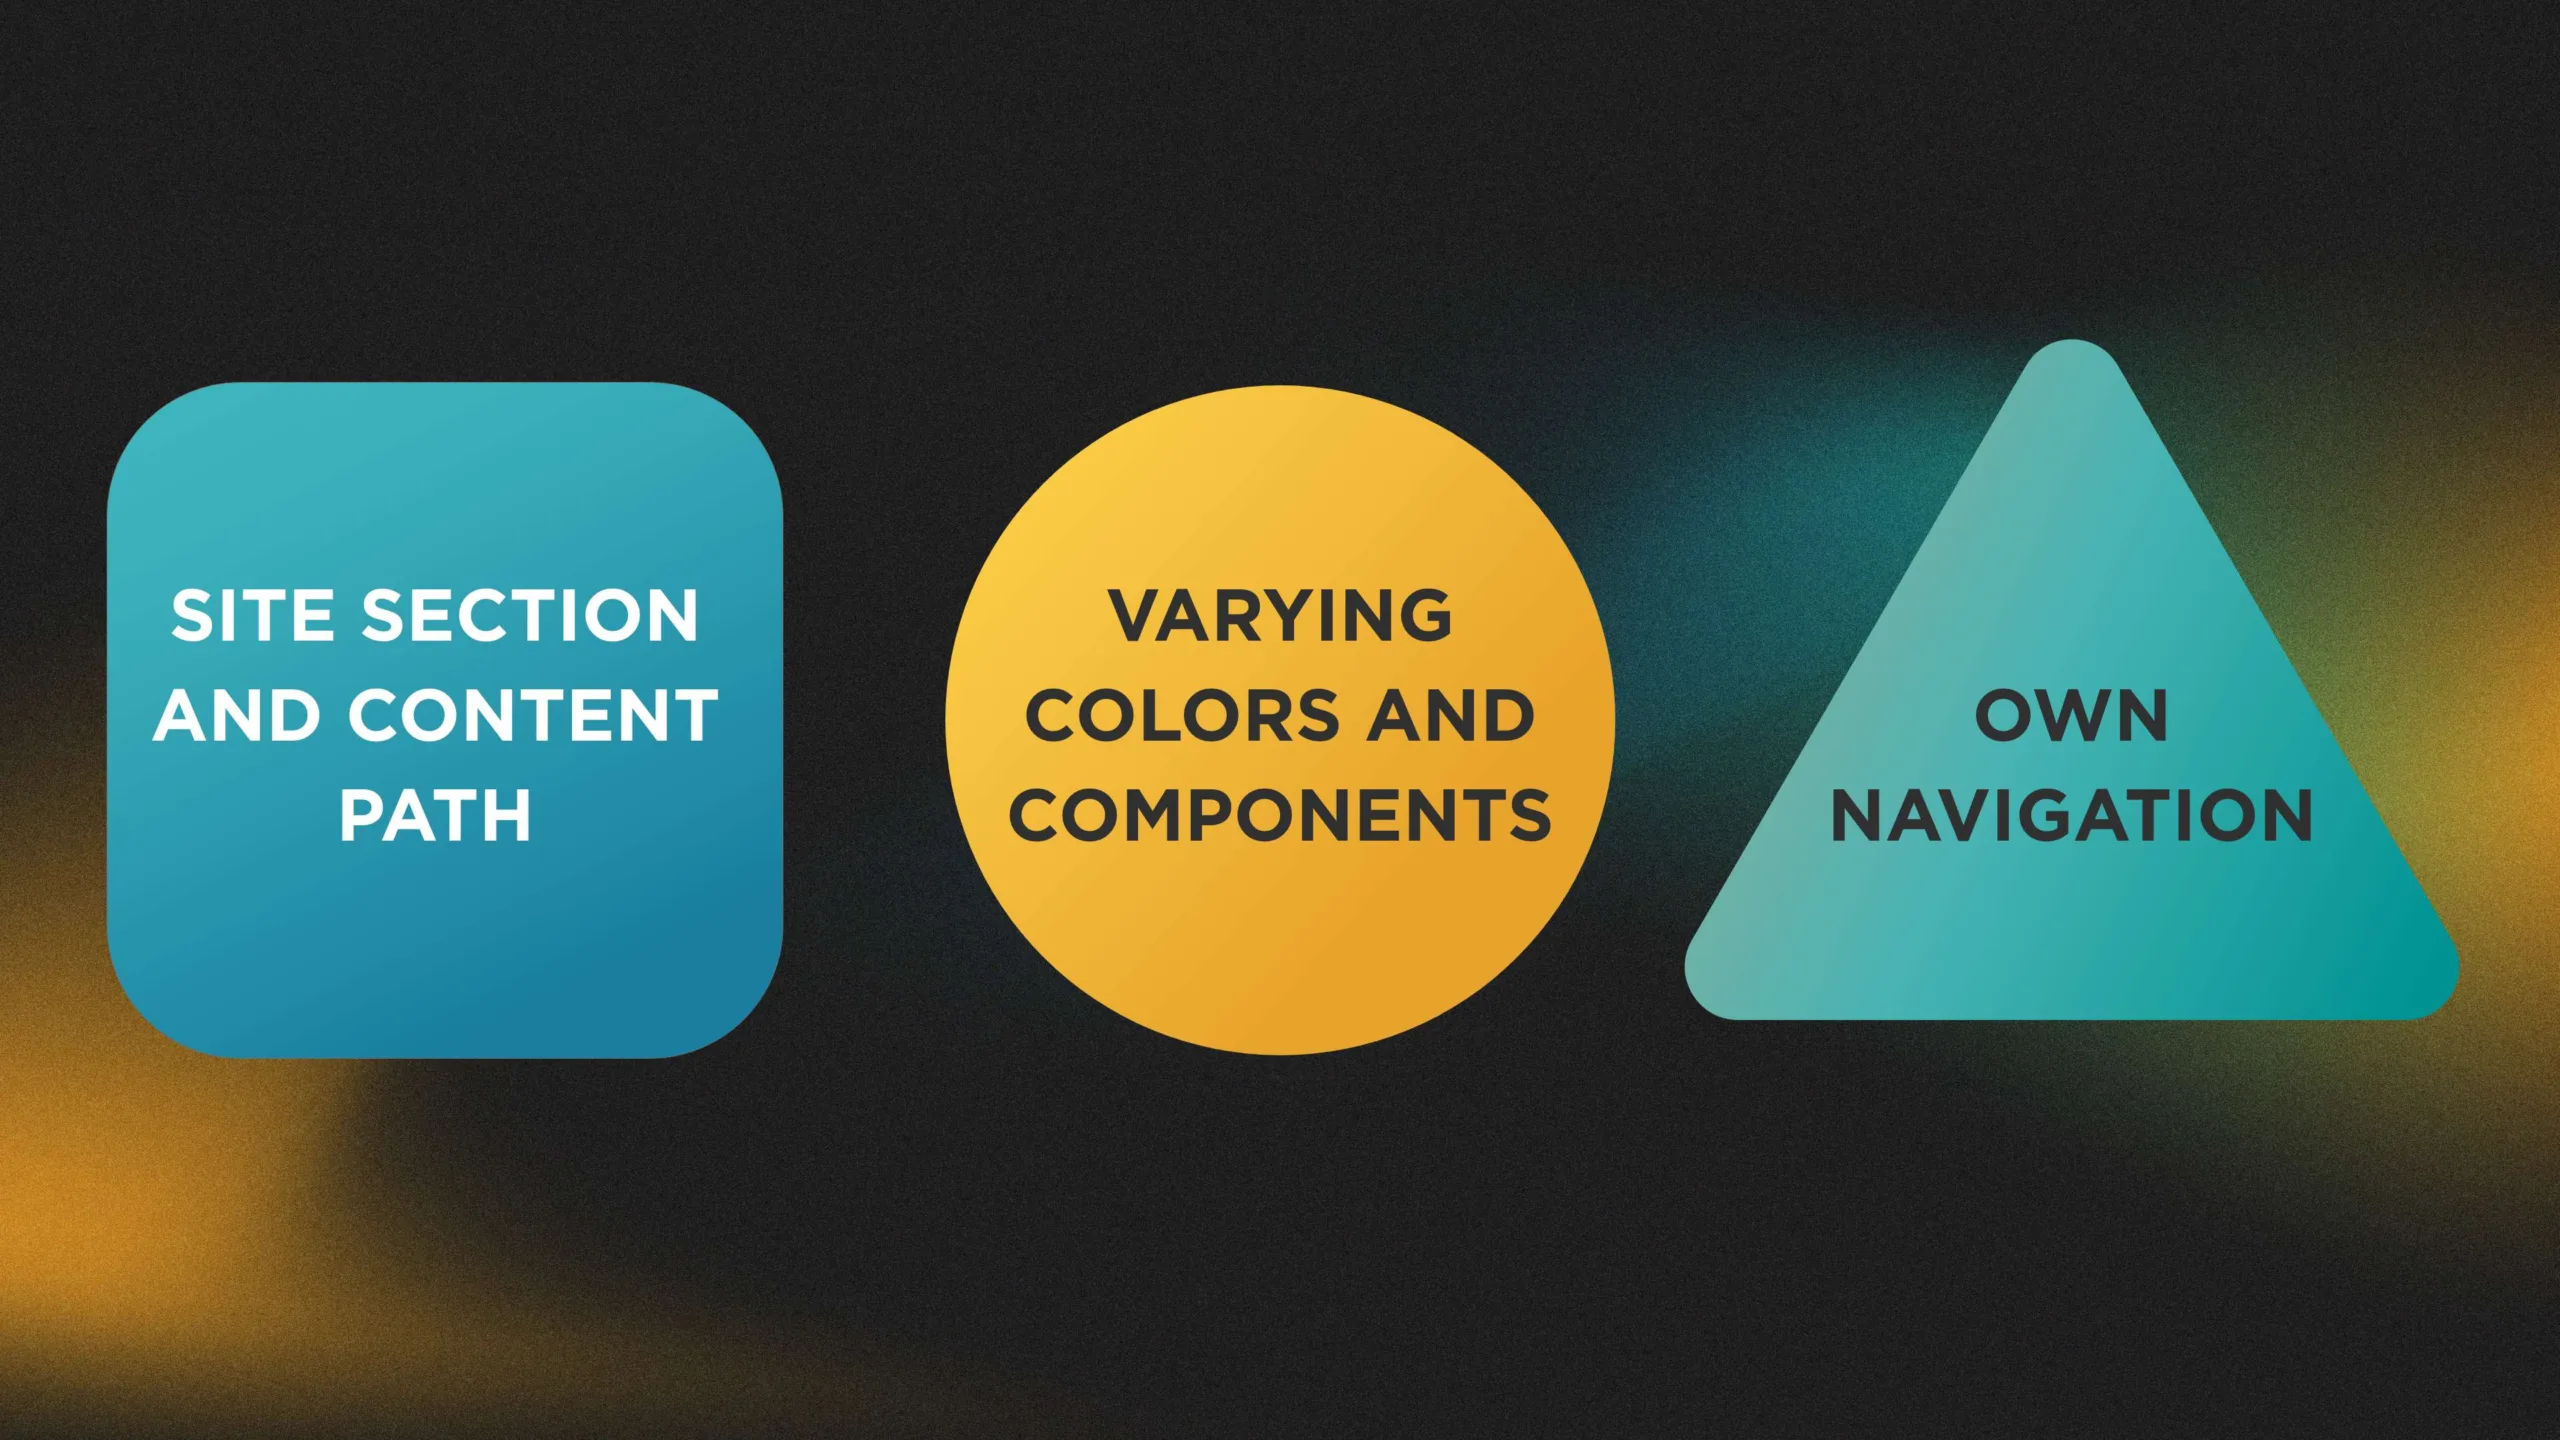
Each site section should have differences to emphasize that its content has its own specific subject. To the main differences, we can include:
- Site section and its content path
- Varying colors and components of the site (theme/theme variants)
- Its own navigation
Site section path
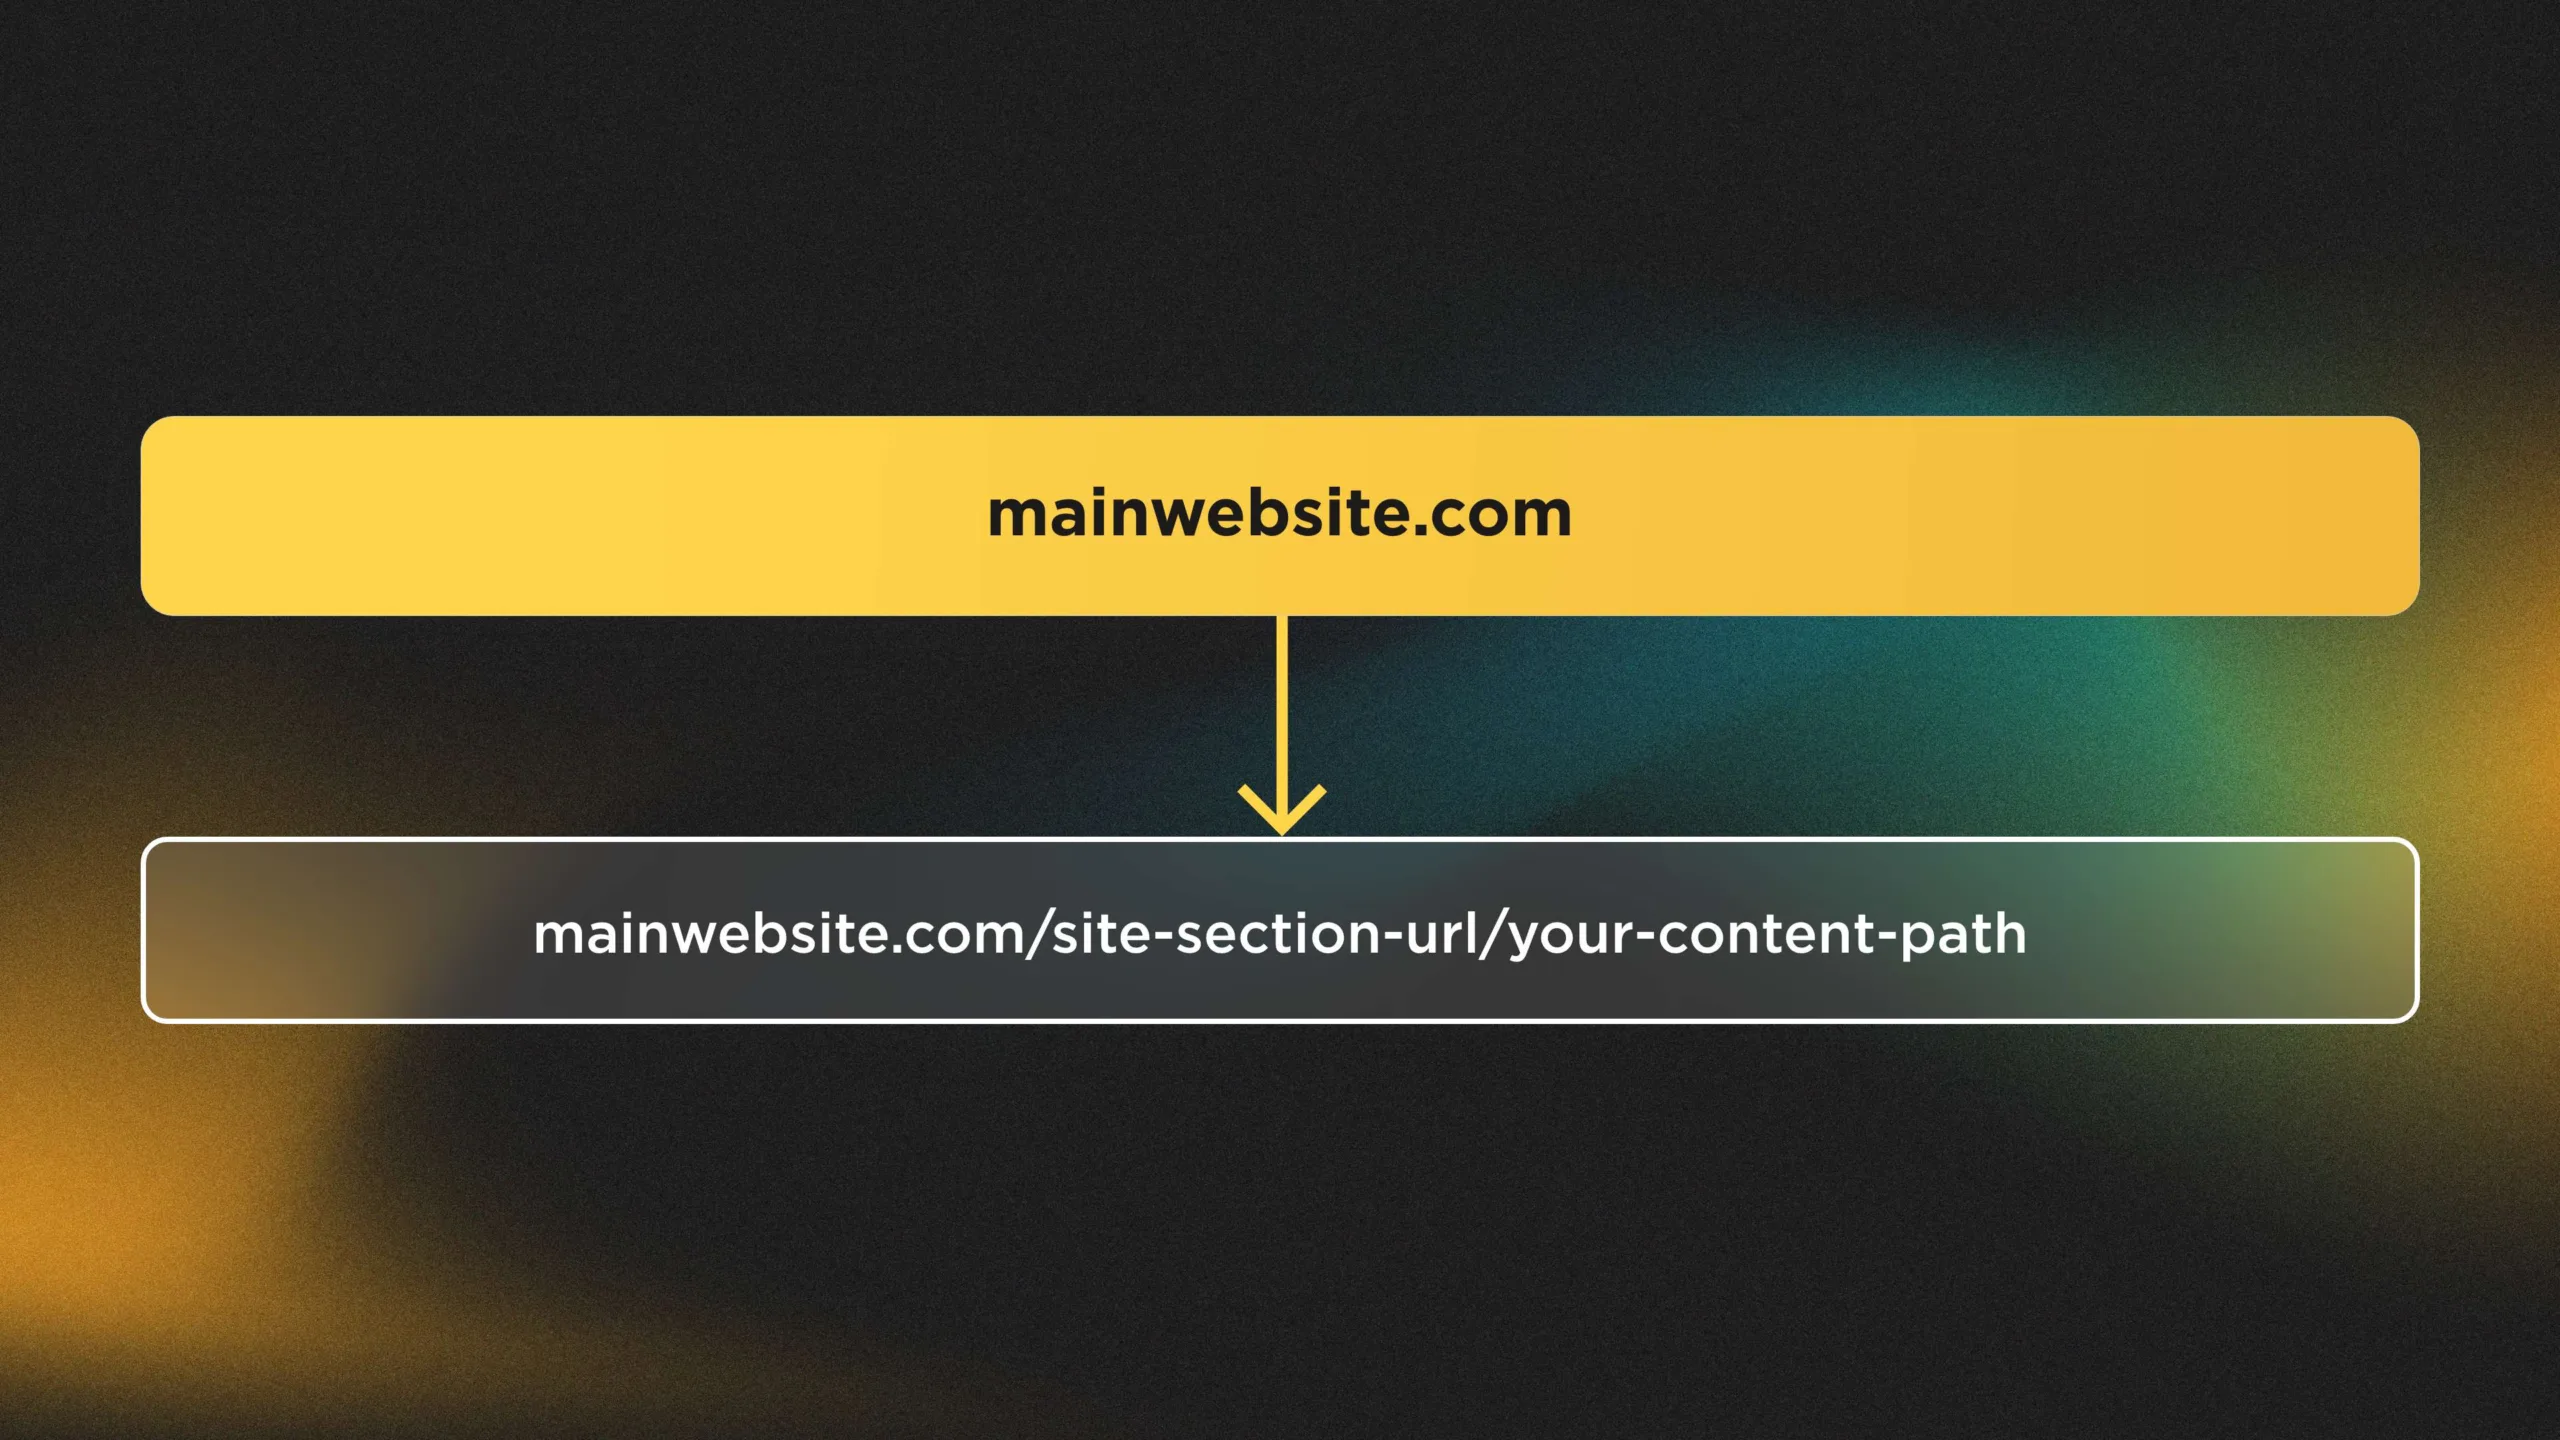
Each site section should have its path and path pattern for all related content. Drupal provides a good solution that generates paths for Nodes - Pathauto. We've implemented the following logic:
- In Context settings, we have a custom-developed Reaction that allows the user to set the main URL for the Site section.
- For each Node that has attached Site context (via the previously added field), we generate a path with the Site section general URL prepended. As a result, the content for the Site Section will have URLs like /site-section-url/your-content-path.
Site section color scheme
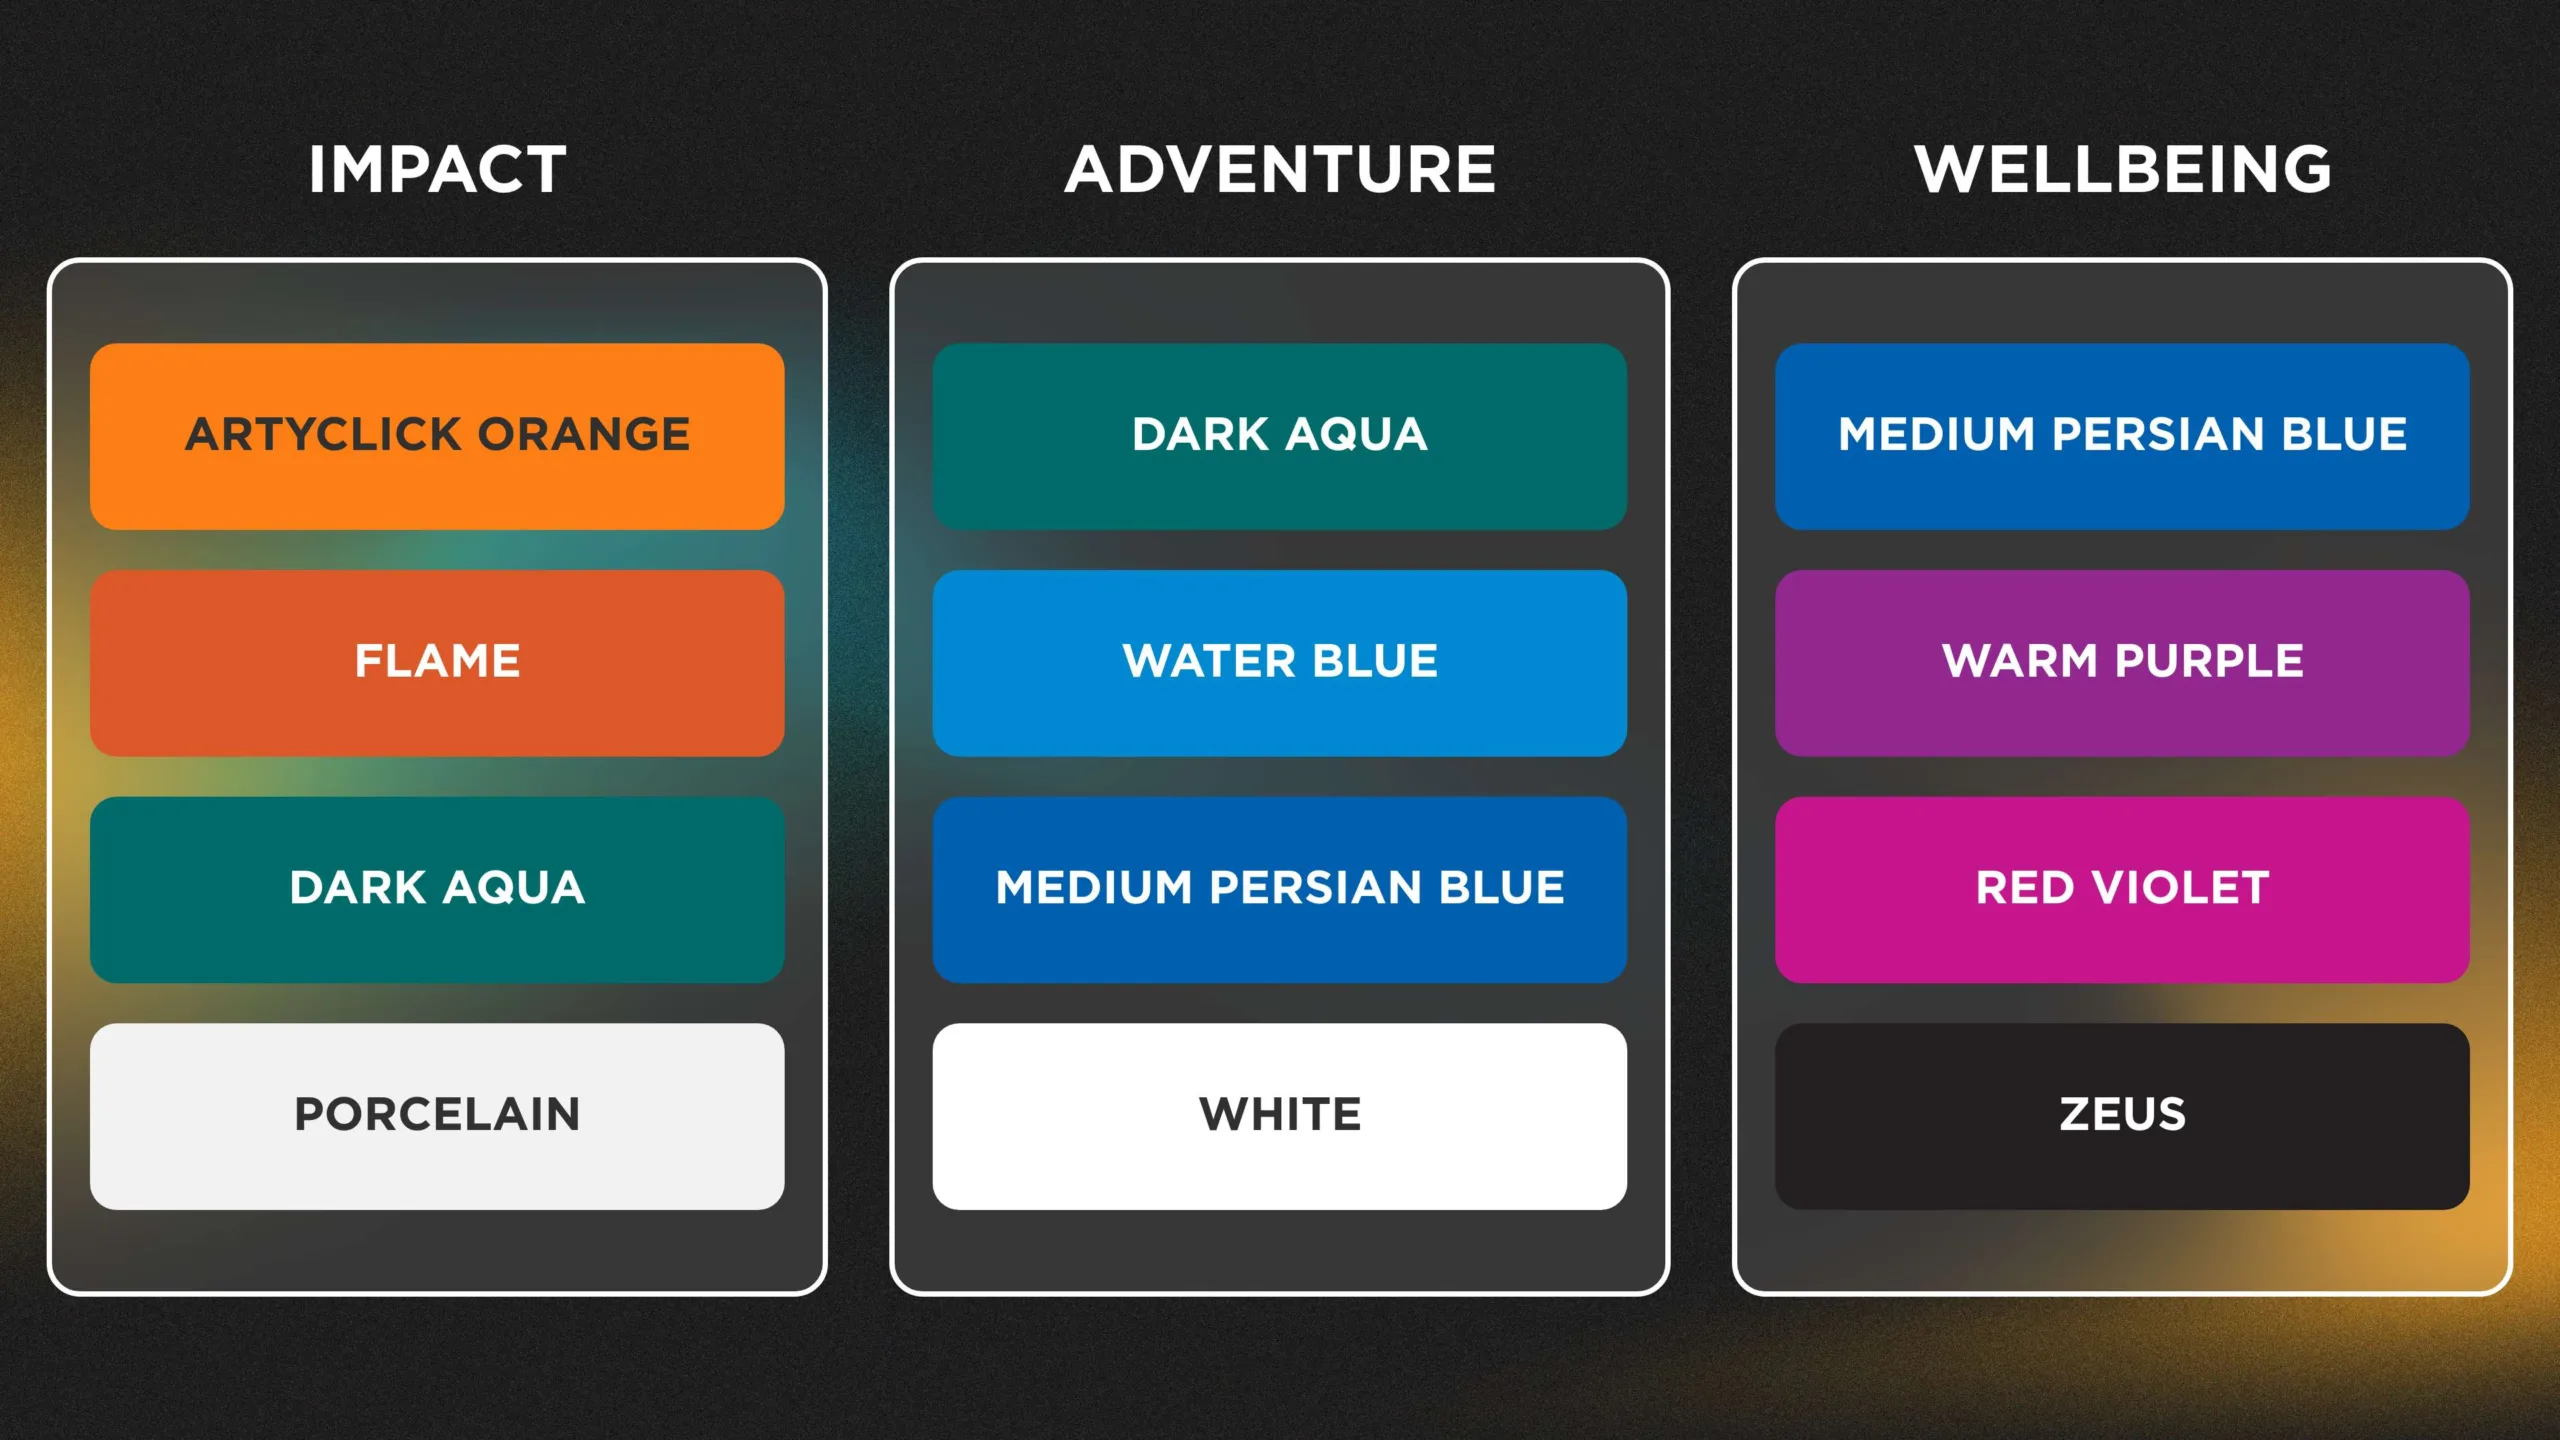
Color scheme changes are the most noticeable difference for users to understand that they're observing something different on a website. We've defined a list of available color schemes (theme variants) that can be applied to the context (site section). Even within one Drupal theme, you can add support for the variants that will affect general colors and component view using the HTML attribute data-theme-variant with a value equal to the theme variant machine name and writing theme-specific styles in your Drupal theme directly, i.e.:
component {
color: $primary;

[data-theme-variant="blue-purple-reversed"] {
color: $primary--blue-purple-reversed;
}

[data-theme-variant="blue-purple-white"] {
color: $primary--blue-purple-white;
}
}
Conclusions
In conclusion, microsites are a powerful tool for creating more engaging and targeted user experiences. By grouping related content into sections with their own unique characteristics, we can make it easier for users to find what they're looking for and keep them engaged with our site. With our implementation plan, we've made it easy for site administrators to create and manage microsites with distinct navigation, paths, and color schemes. This means that you can deliver a more personalized and effective experience to your users without having to create an entirely new website for each use case. In summary, microsites are cool, and with our implementation plan, they're also easy to create and manage.
Also Read
YMCA of the North
